I finally finished all of my exams for the semester which
means I finally had the time to work on my very first tutorial. I’ve never done
this before, and I really had no idea if I was doing it right (as in doing it
in an effective way). So, let’s get started…
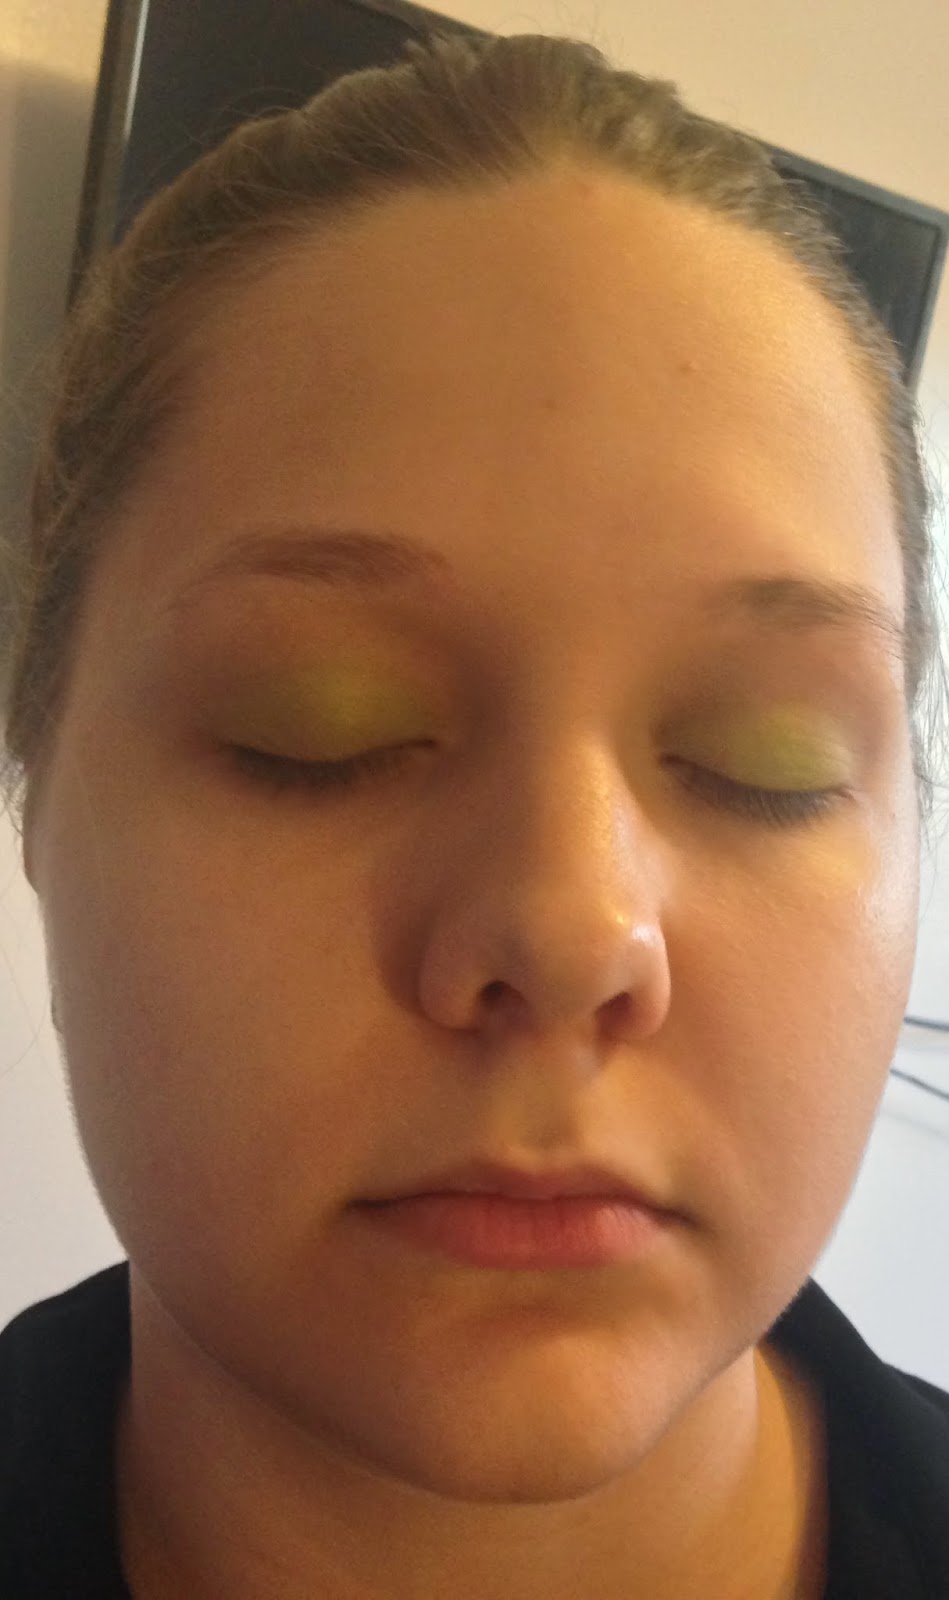
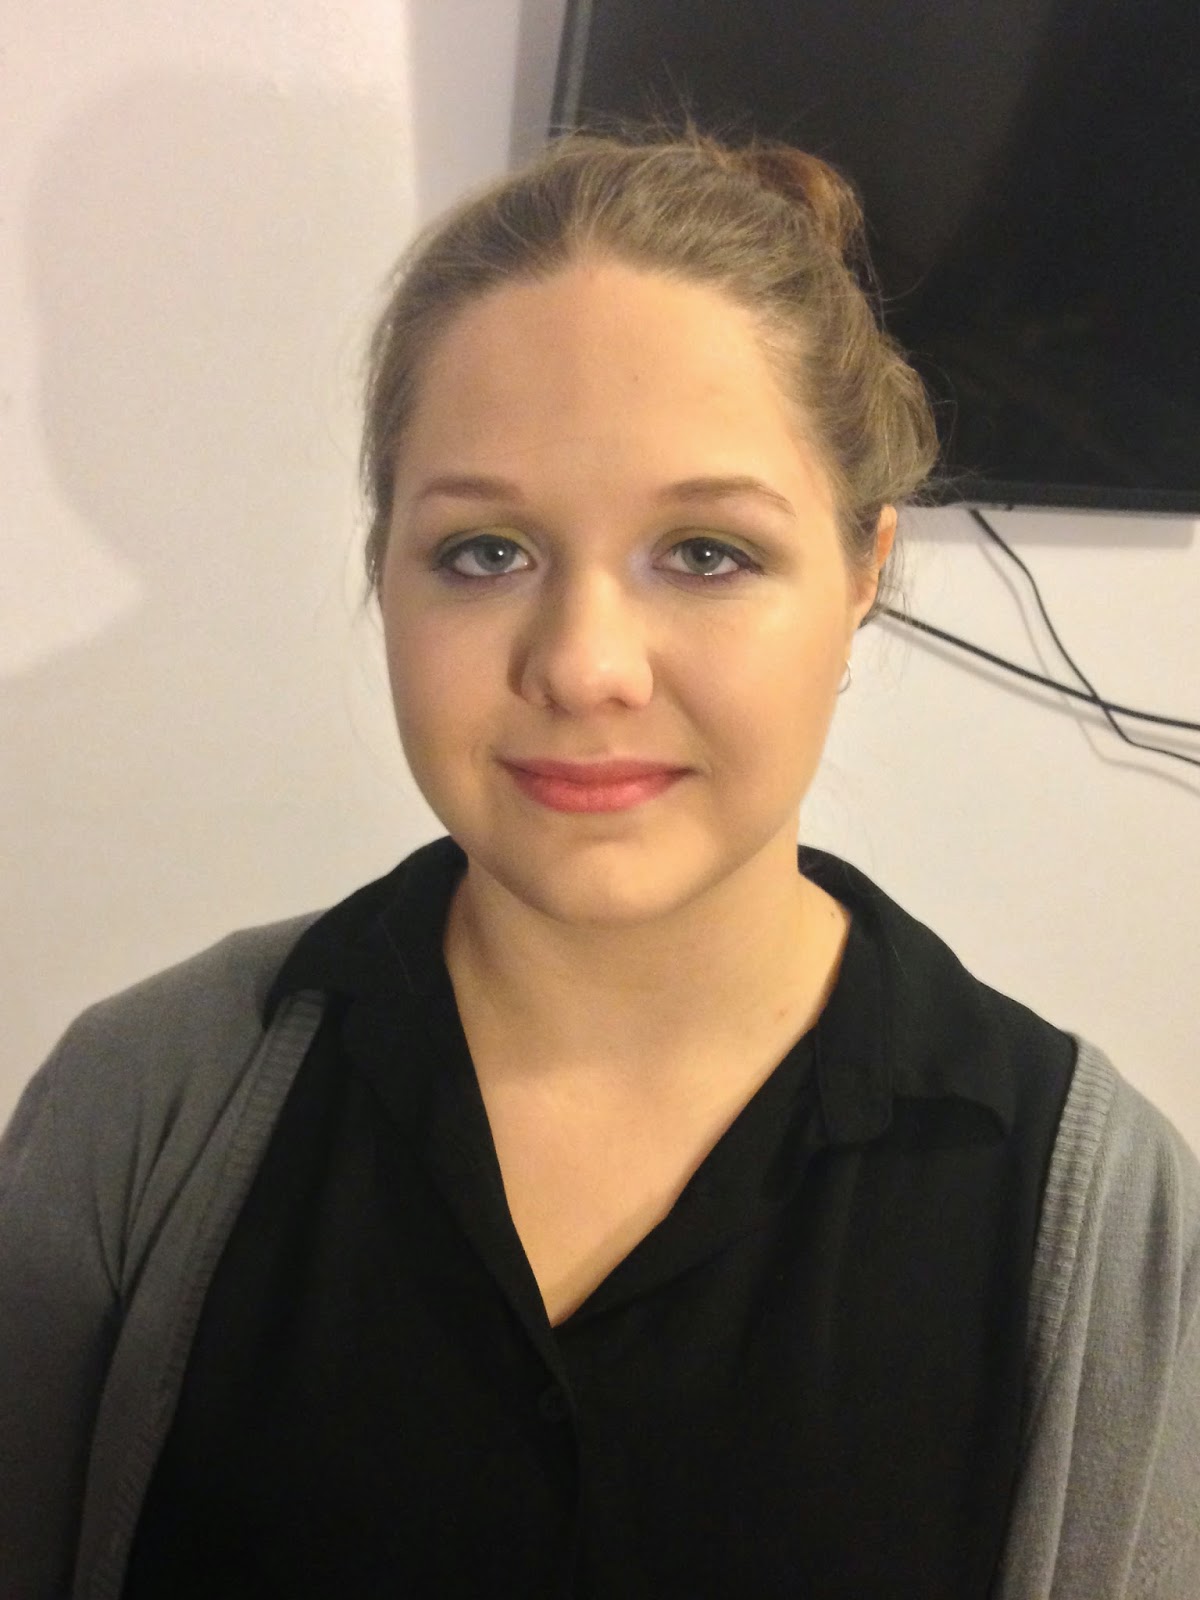
First of all, meet my little sister Kelly, who agreed to be
my model today.

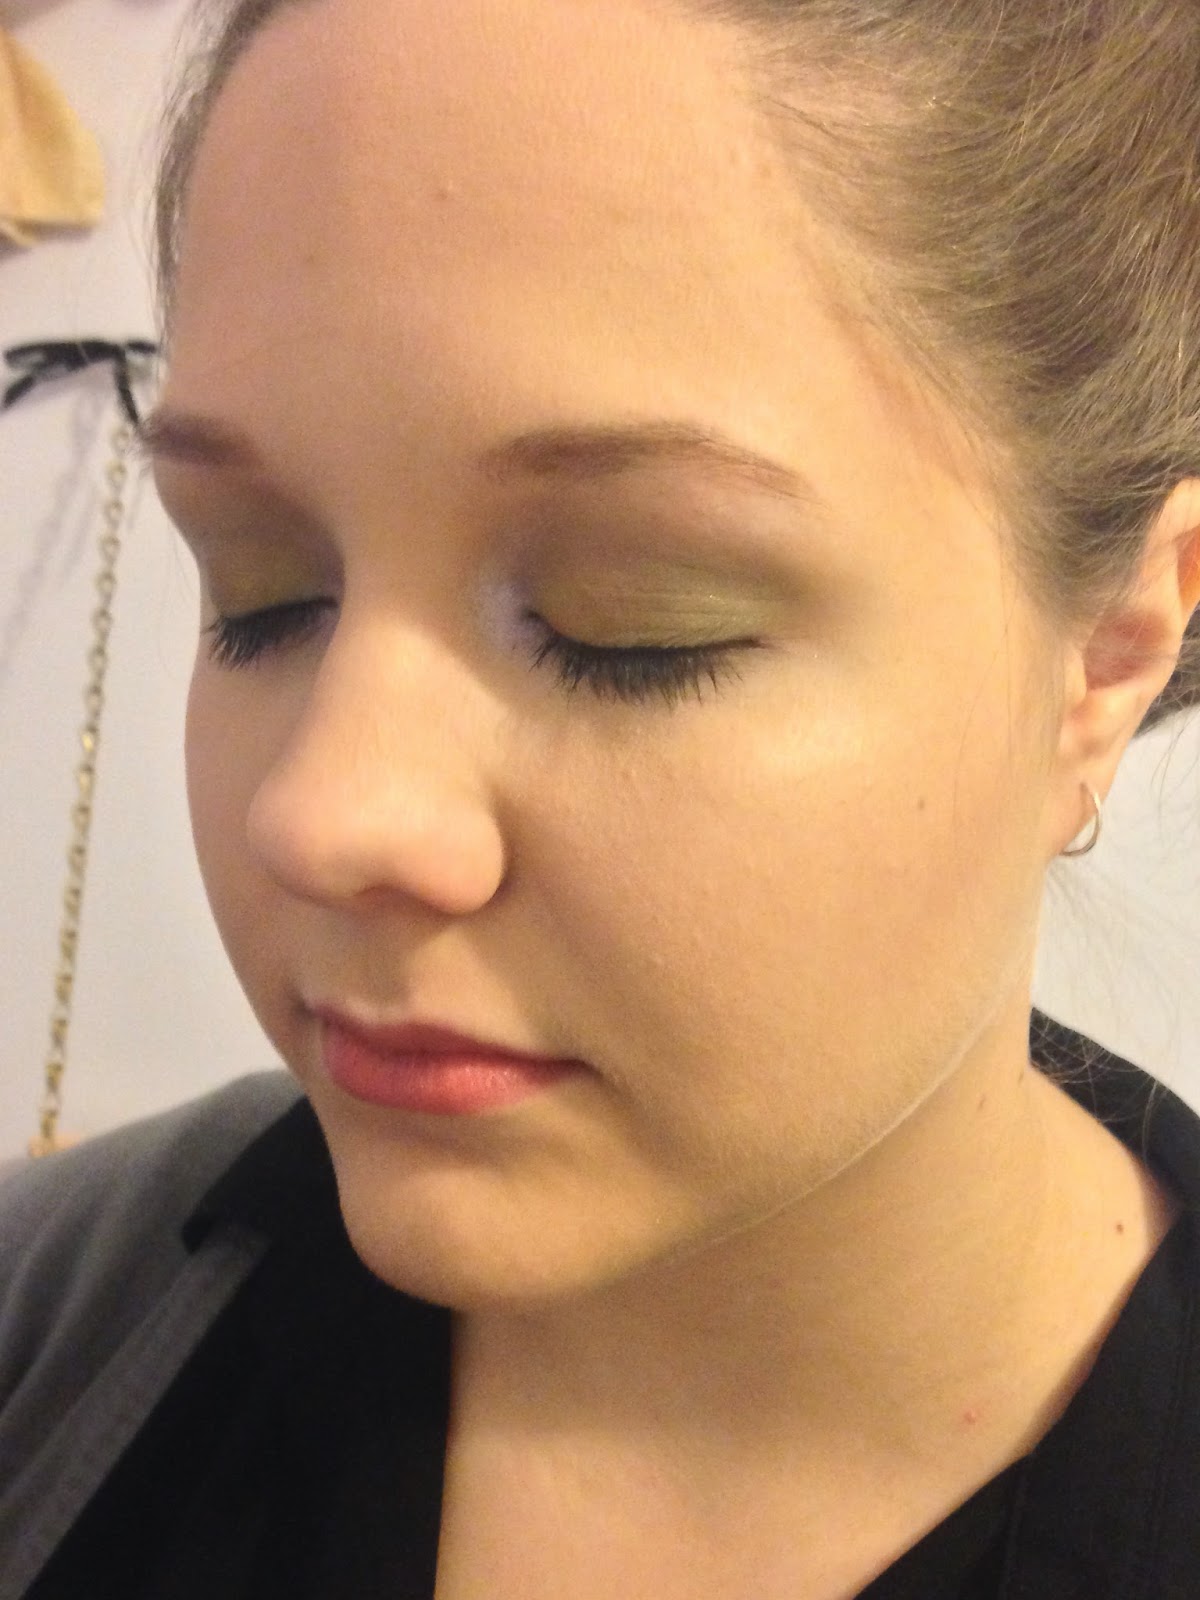
Once her eyes were all primed, I put LimeLily’s Lime Zest
eyeshadow all over the lid. This is a beautiful matte, bright green shadow. I
used it wet to boost the pigmentation.

After that I added Estee Lauder’s Enchanted Forest to the
crease as the transition shade. Then I went with Estee Lauders’ Ivy Envy to
smoke out the whole lid and crease. I just added Ivy Envy very lightly and
built it up until I was happy with it.
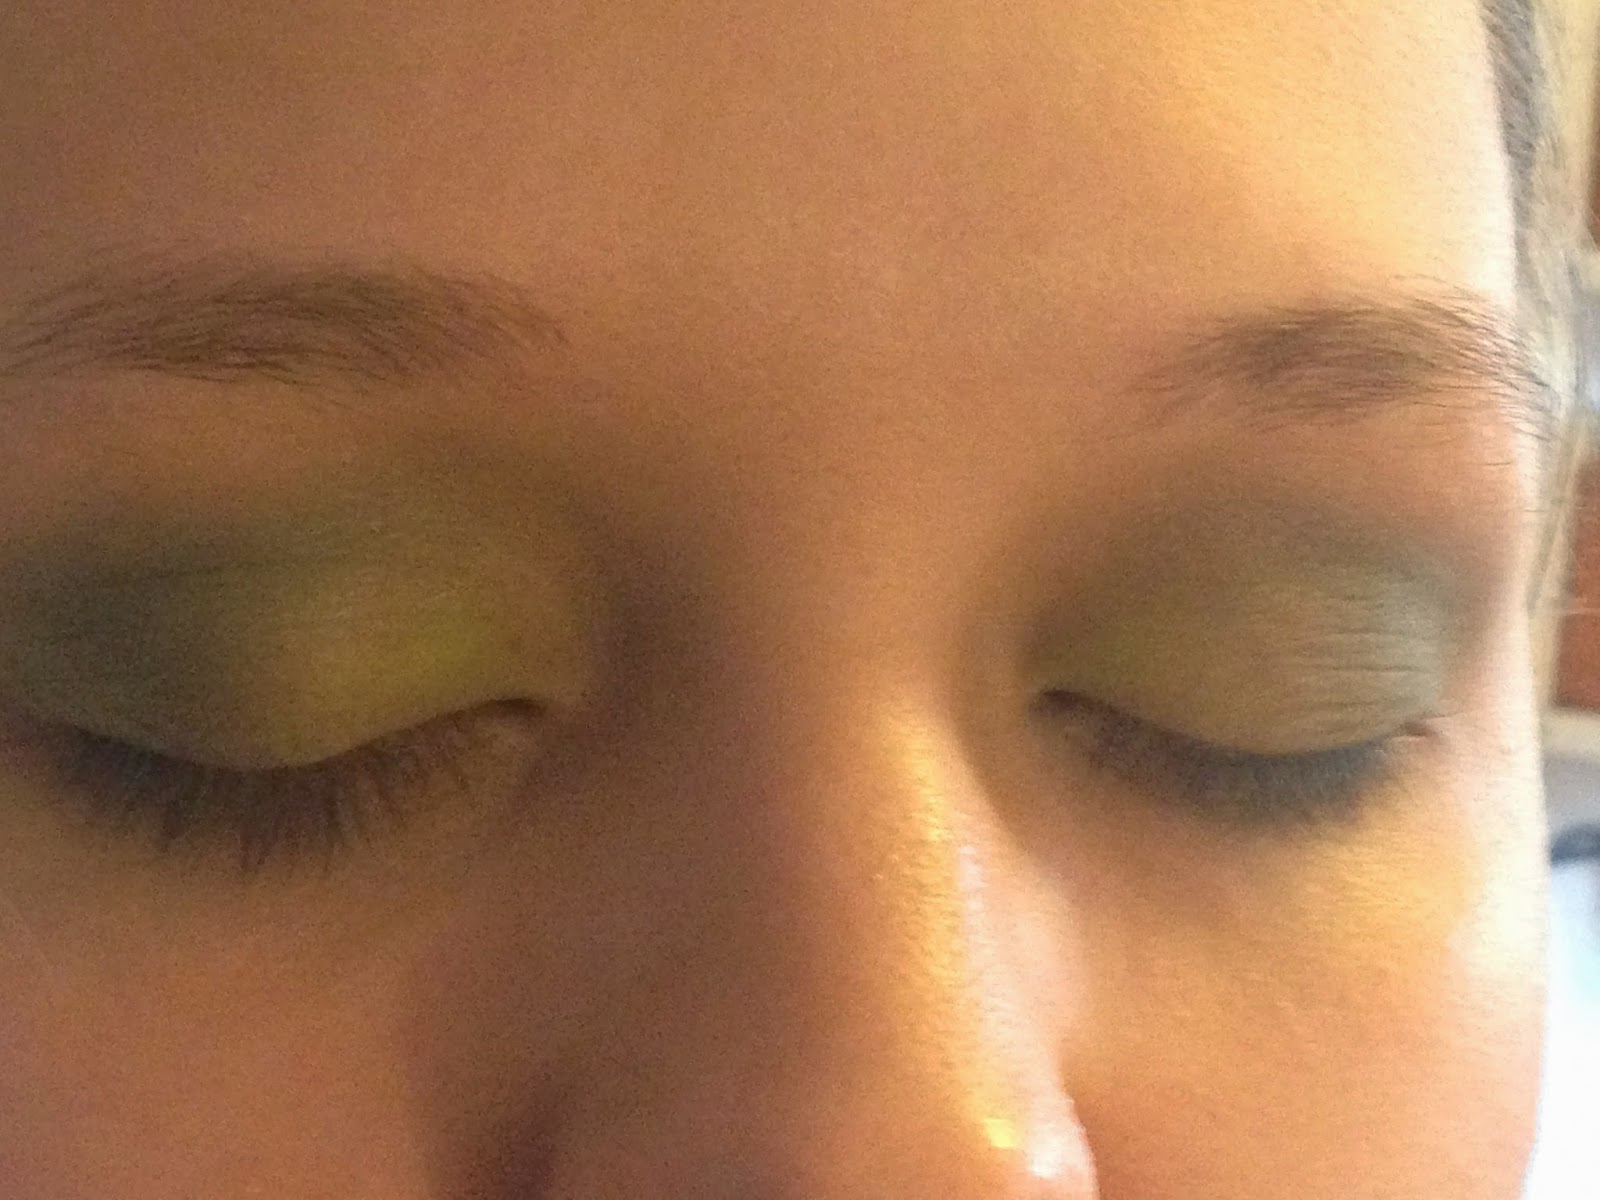

Once I was happy with the level of colour with the darker
green shades, I went back in with Lime Zest just on the inner half of the lid,
to brighten up the colour after some of it got blended away with Enchanted
Forest and Ivy Envy.
Before I moved on to
the lower lash line, I applied the base. I primed with Models Prefer Mattifying
Primer, and used LimeLily’s Cream Foundation. To get the best shade match for
Kelly, I mixed Sunny Beige and Toffee. I applied it just using a flat
foundation brush from my new brush roll, which I have just purchased from The
Make-up Foundation and will be reviewing soon. I then used a mix of Sunny Beige
and Toffee, but this time with more Sunny Beige, as an under eye concealer. I
set Kelly’s face with the Australis Ready Set Go Finishing Powder, which is
just a true translucent setting powder.


I did a very light contour and all over bronze with Estee
Lauder’s Bronze Goddess in Medium, and then used the Pure Colour Blush in Peach
Passion. These are from the same special edition palette that the shadows are
from. I got this for Christmas, but from what I’ve seen, with the blushes and
bronzer at least, you can buy them individually. I used TheBalm’s Mary-Lou
Manizer to highlight her cheek bones, forehead, nose, cupid’s bow and chin.


Then I lined the water and tight lines with Estee Lauder’s
Eye Defining Pencil in Soft Smudge Black and did a thin line of Essence’s
Liquid Ink Waterproof Eyeliner across the upper lash line, as close to the
lashes as possible.
I used the Essence Get Big Lashes Waterproof Mascara on both
upper and lower lashes.


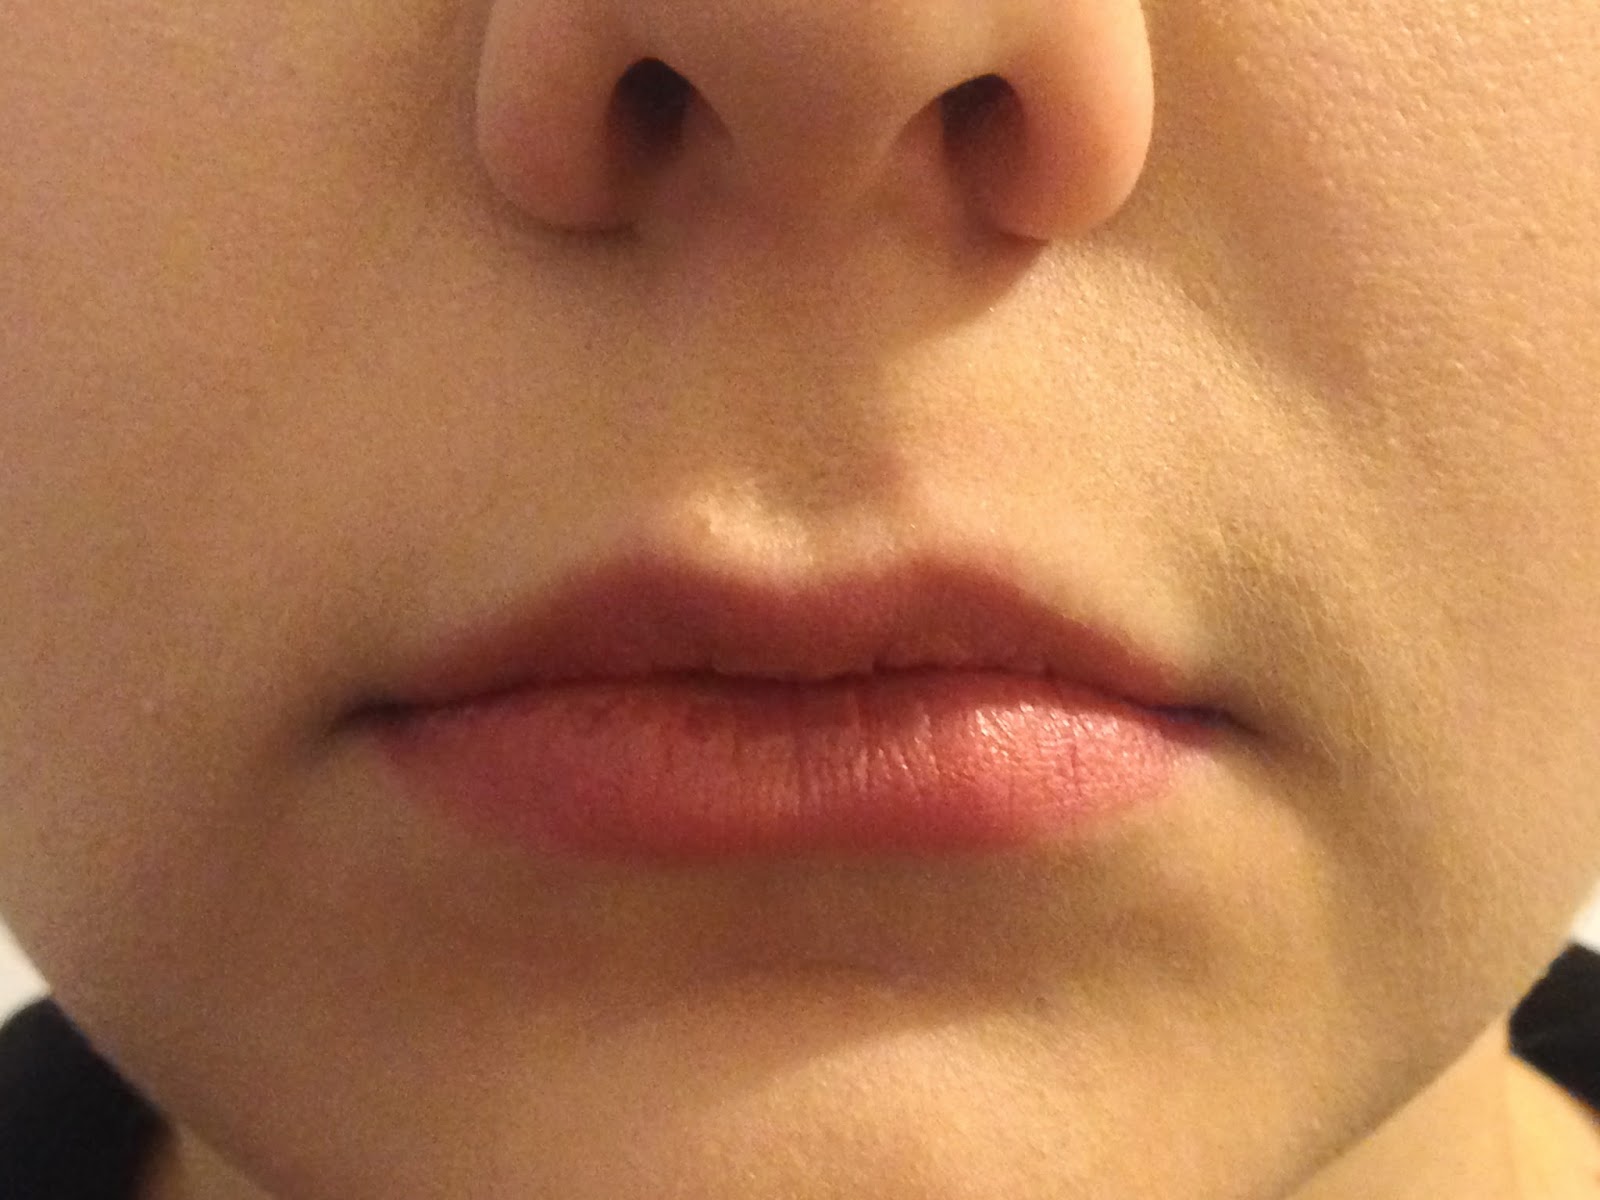
Finally, on to the lips. I first lined her lips with
Essence’s Lipliner in Cute Pink.
Then I used a lip brush from my new set to fill her lips in
with Rimmel’s Apocalips in Luna. To finish it all off, I set her face with the
Australis Make-up Finishing Spritz.

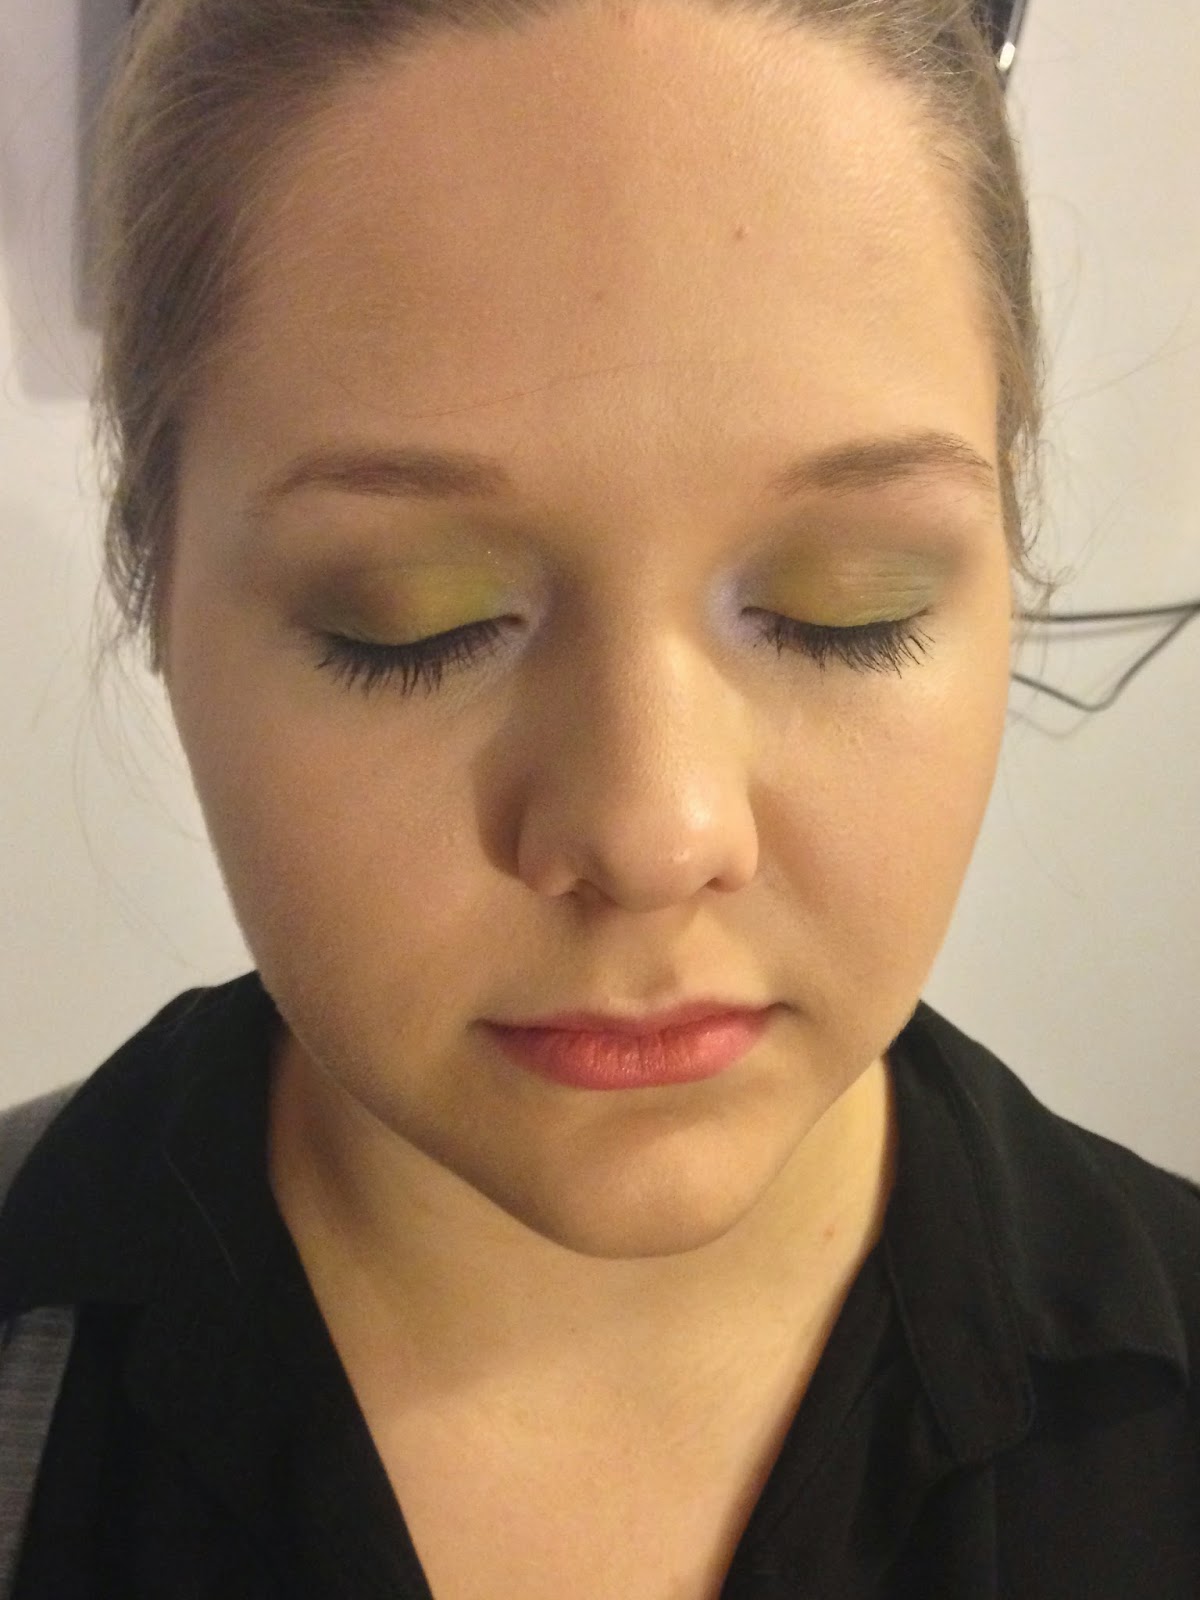
So that’s the finished look. This is a look that you could
wear clubbing, or to a party. The eye look is one that can be both lightened up
and deepened, to get different effects and use for different events. The purple
on the lower lash line is totally optional. As an alternative, you could just
use Lime Zest and Ivy Envy.


I hope this tutorial worked out okay. Like I said, I was
really just winging it. If you have any suggestions for a better way of doing
(not involving a video camera), feel free to leave me a comment. Also if
there’s any kind of tutorial or review you’d like me to do, again, just leave
me a comment, and I’ll see what I can do J
Here’s a complete list of the products I used:
Clinique Dramatically Different Moisturising Gel
Models Prefer Mattifying Primer
Models Prefer Eyeshadow Primer
LimeLily Cream Foundation – Sunny Beige & Toffee
Estee Lauder Bronze Goddess – Medium
Estee Lauder Pure Colour Blush – Peach Passion
TheBalm Mary-Lou Manizer
Estee Lauder Eyeshadows – Enchanted Forest, Ivy Envy, Purple
Passion, Flirty Lilac and Pink Flash
LimeLily Eyeshadow – Lime Zest
Estee Lauder Eye Defining Pencil – Soft Smudge Black
Essence Liquid Ink Waterproof Eyeliner – Black
Essence Get Big Lashes Waterproof Mascara
Essence Brow Pencils – Blonde & Brown
Models Prefer Brow Gel
Essence Lipliner – Cute Pink
Brushes used came from the 16pc Starter Brush Roll Set from
The Make-up Foundation
No comments:
Post a Comment