Drop Down Menu

Showing posts with label Tutorials. Show all posts

Wednesday, 27 August 2014

Tutorial: Everyday Makeup Routine

Watch in HD!

Hey guys!

My new video is finally up. It's probably not the best, but I think it's okay for my first video tutorial. Please subscribe to my channel and like my page on Facebook! The links for both are down the side. :)

Products used:

E.L.F. Eyelid Primer
Maybelline Colour Tattoo – Barely Branded
M.A.C. Strobe Cream
Bobbi Brown Skin Foundation Stick – 0 Porcelain
NARS Sheer Glow – Light 1 Siberia
Bare Minerals Concealer – Light 1
E.L.F. HD Under Eye Setting Powder
Elizabeth Arden Cemamide Loose Setting Powder – 01 Translucent
TheBalm Cindy-Lou Manizer
TheBalm Mary-Lou Manizer
Essence Brow Powder Duo
Benefit Gimme Brow – Medium/Deep
Australis Lip & Cheek Combo – Flamingo Skies
NYX Butter Gloss – Crème Brulee

Thursday, 10 July 2014

Tutorial #2: Audrey Hepburn Inspired Natural Look

Hey everyone!

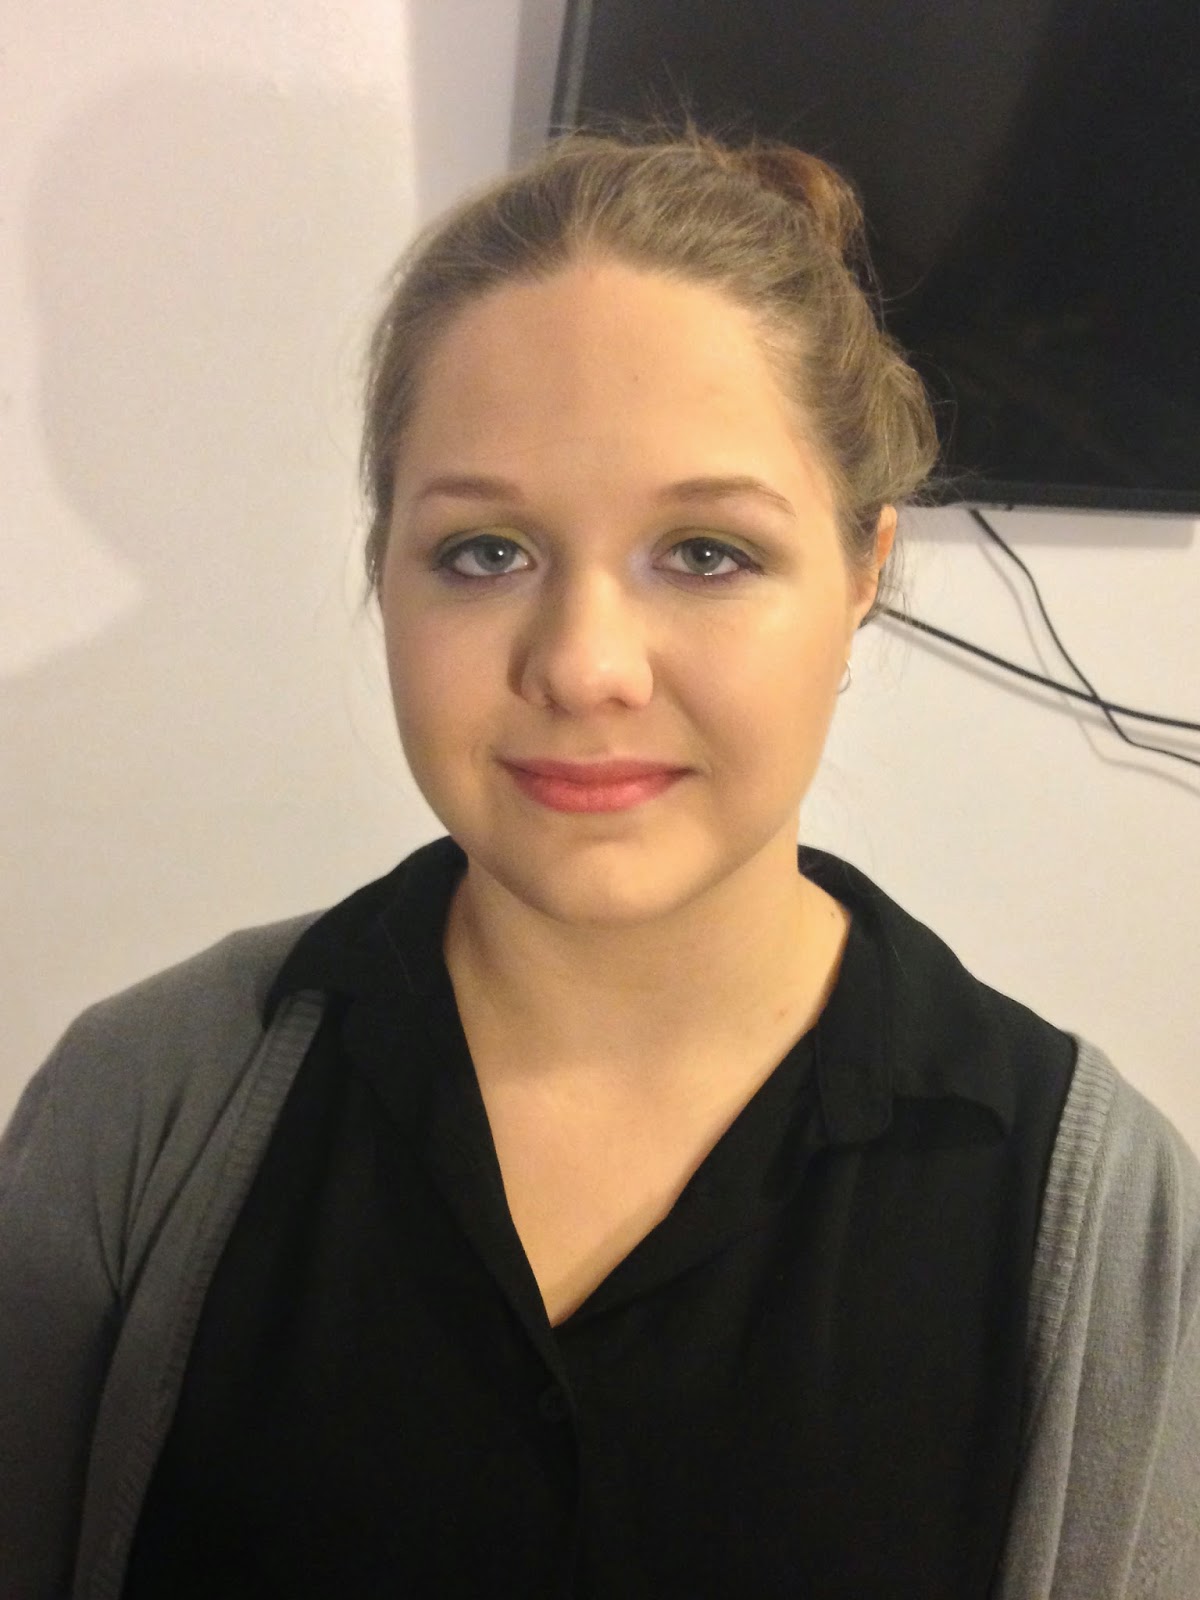
Here’s my new tutorial. I decided to use myself as a model. I was really self-conscious about it, but I did it. I know it seems weird to be self-conscious and have a beauty blog, but I really hate seeing photos and video of myself. I always hate the way I look in them.

Also, please excuse my bad hair, I'm currently growing out my pixie cut and styling it just seemed like too much effort today! :)

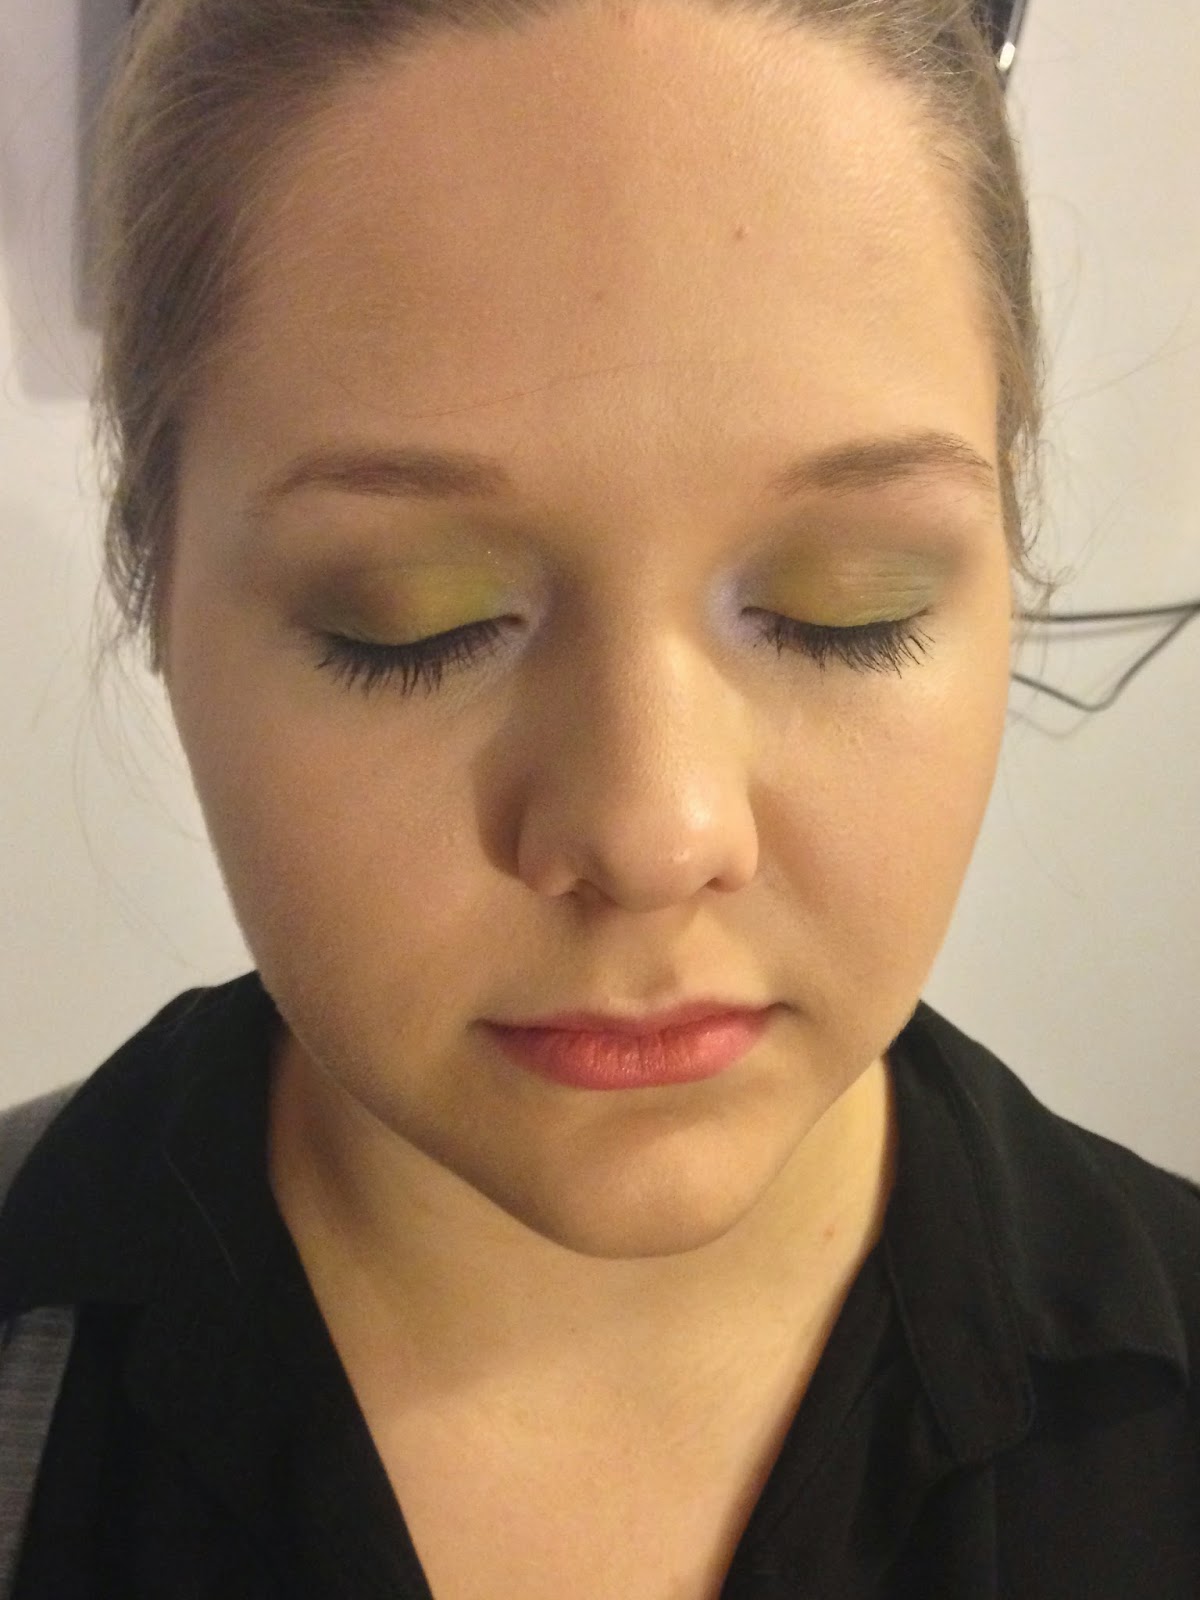
Anyway, the look was inspired by Audrey Hepburn, but I decided to go for a natural version. I know Audrey’s looks were always quite natural as it is, but I really wanted the eyebrows and eyeliner to be the main focus.  

I started by prepping my cleansed face with Sukin Hydrating Mist Toner, Trilogy Very Gentle Moisturiser and then a little bit of M.A.C Strobe Cream for extra illumination.


Onto foundation. I used my NARS Radiant Creamy Compact in Siberia and one of my new favourite brushes, the LimeLily duo fibre brush, which came in the set I bought a couple of weeks ago.


Then I added a little bit of Australis Lip and Cheek Combo in Flamingo Skies to my cheeks for a tiny bit of colour. I just used the peachy side.


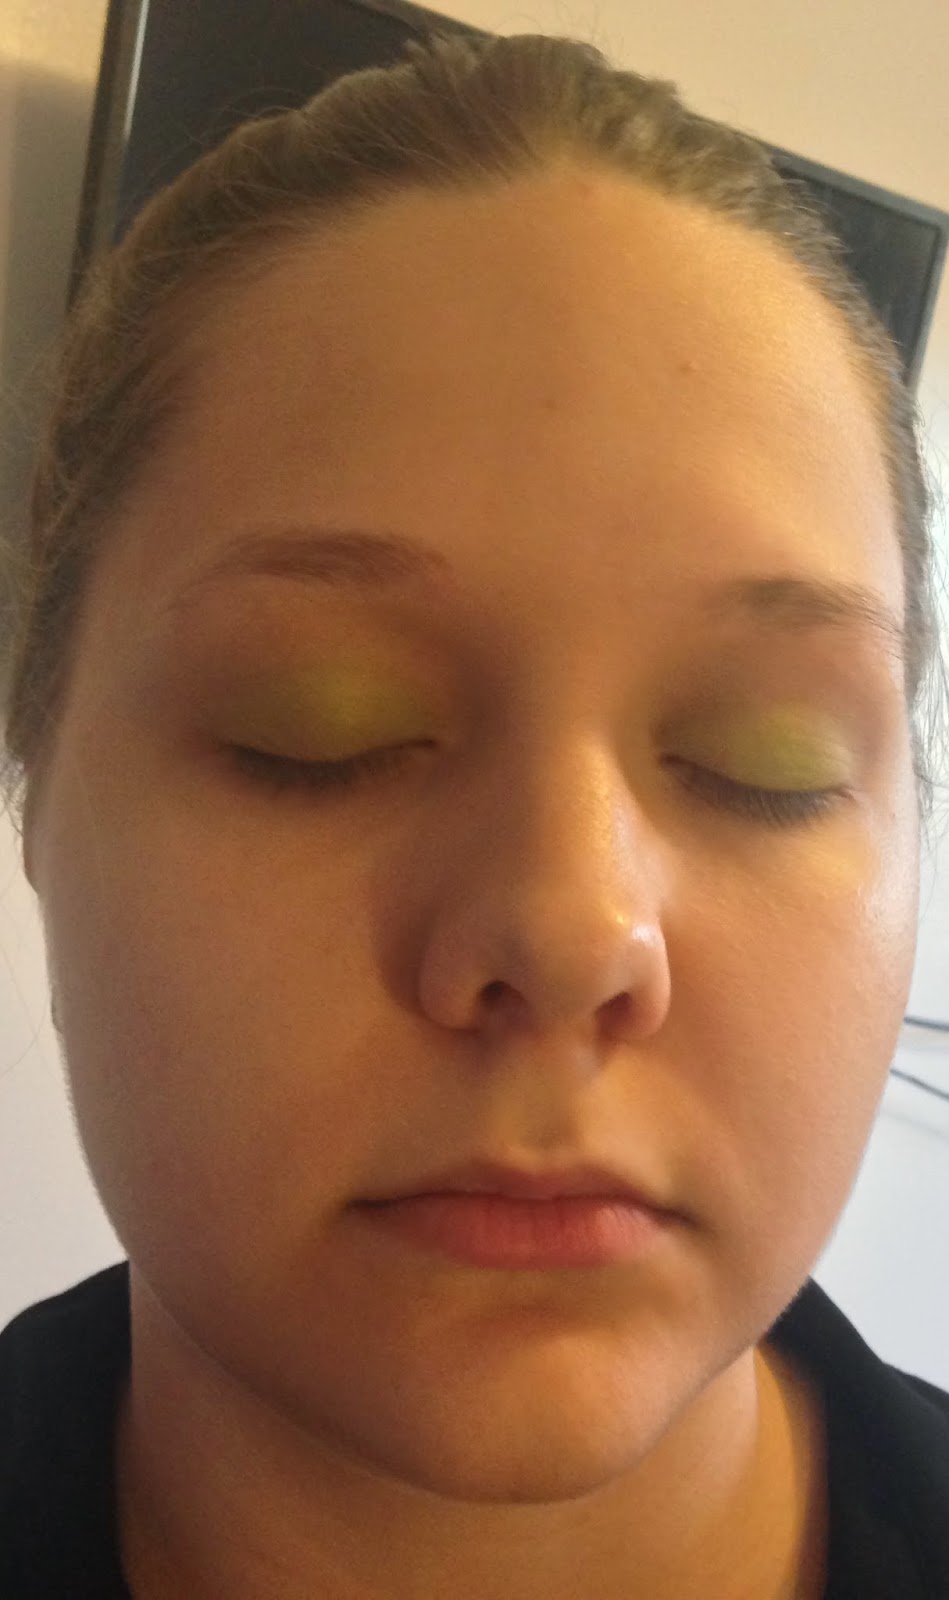
On my eyes I started with a bit of M.A.C Studio Fix Concealer in NC15 and Maybelline Colour Tattoo in Barely Branded for a base.

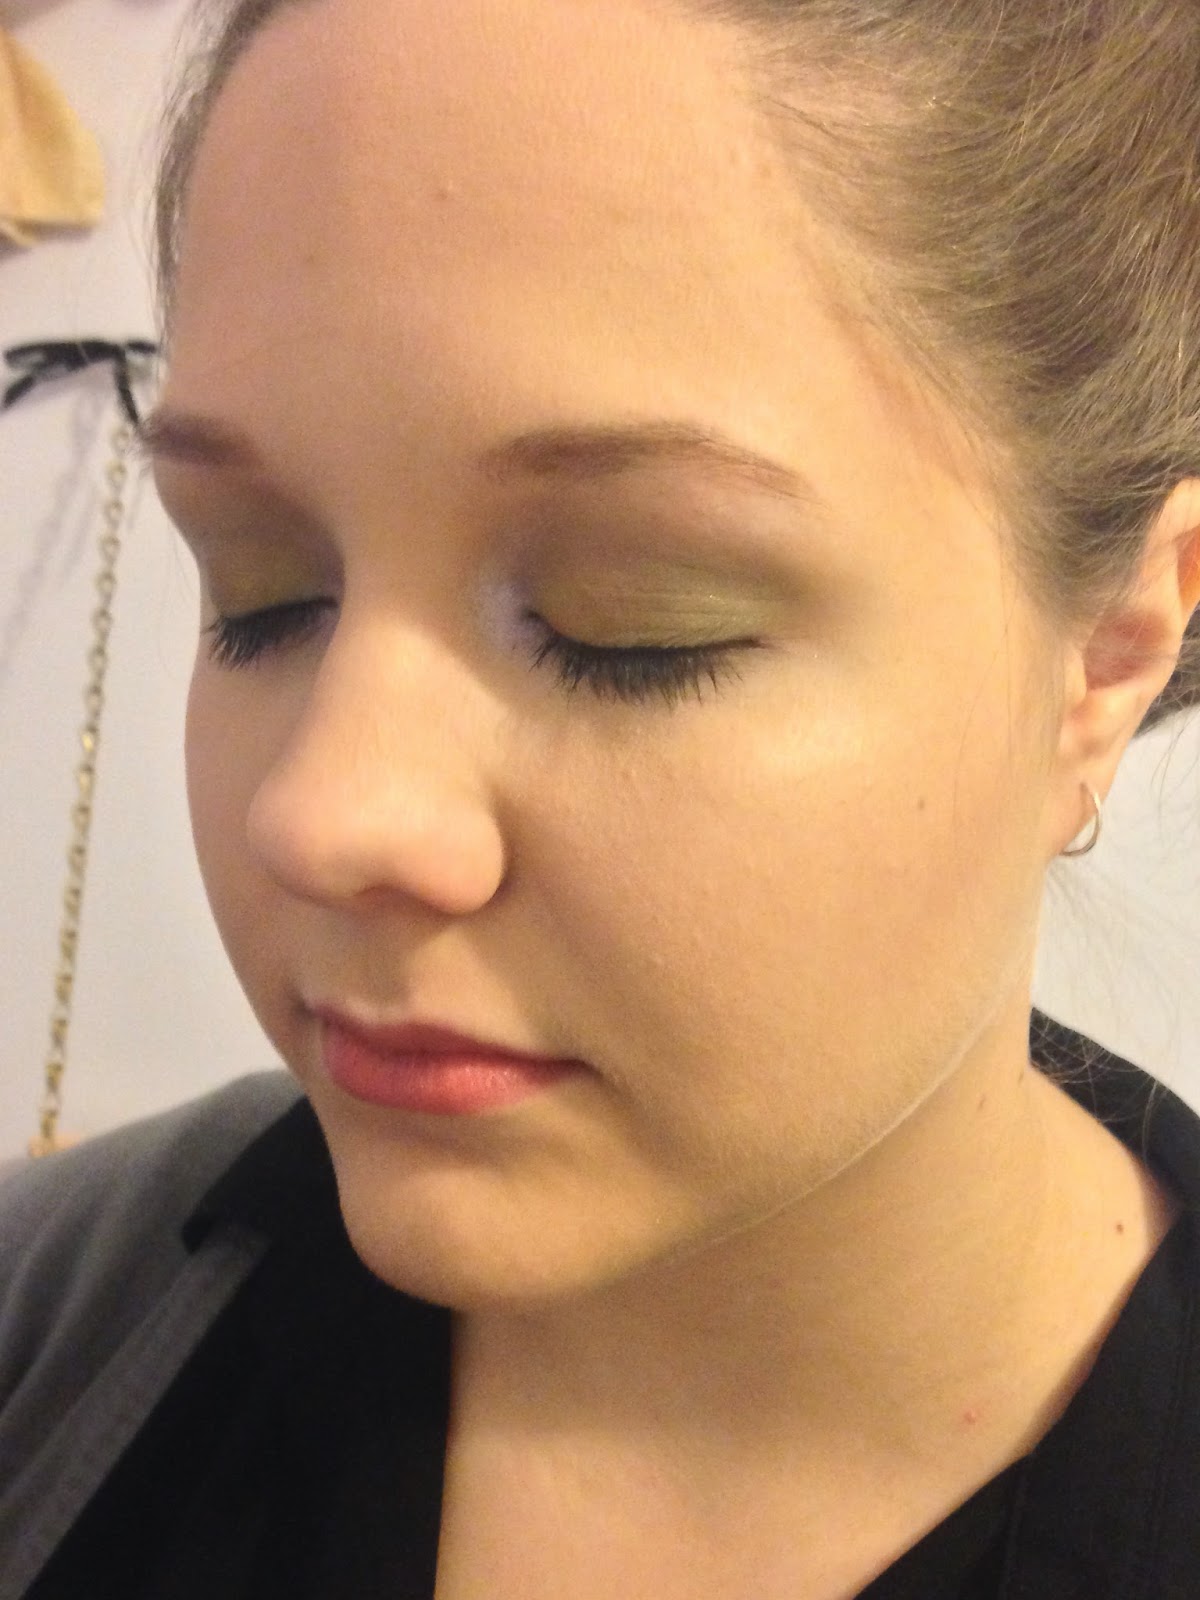
Since I wanted a natural looking eye, I used my M.A.C Studio Fix powder in NC15 all over my lid and topped it off with a shimmery champagne coloured shadow.

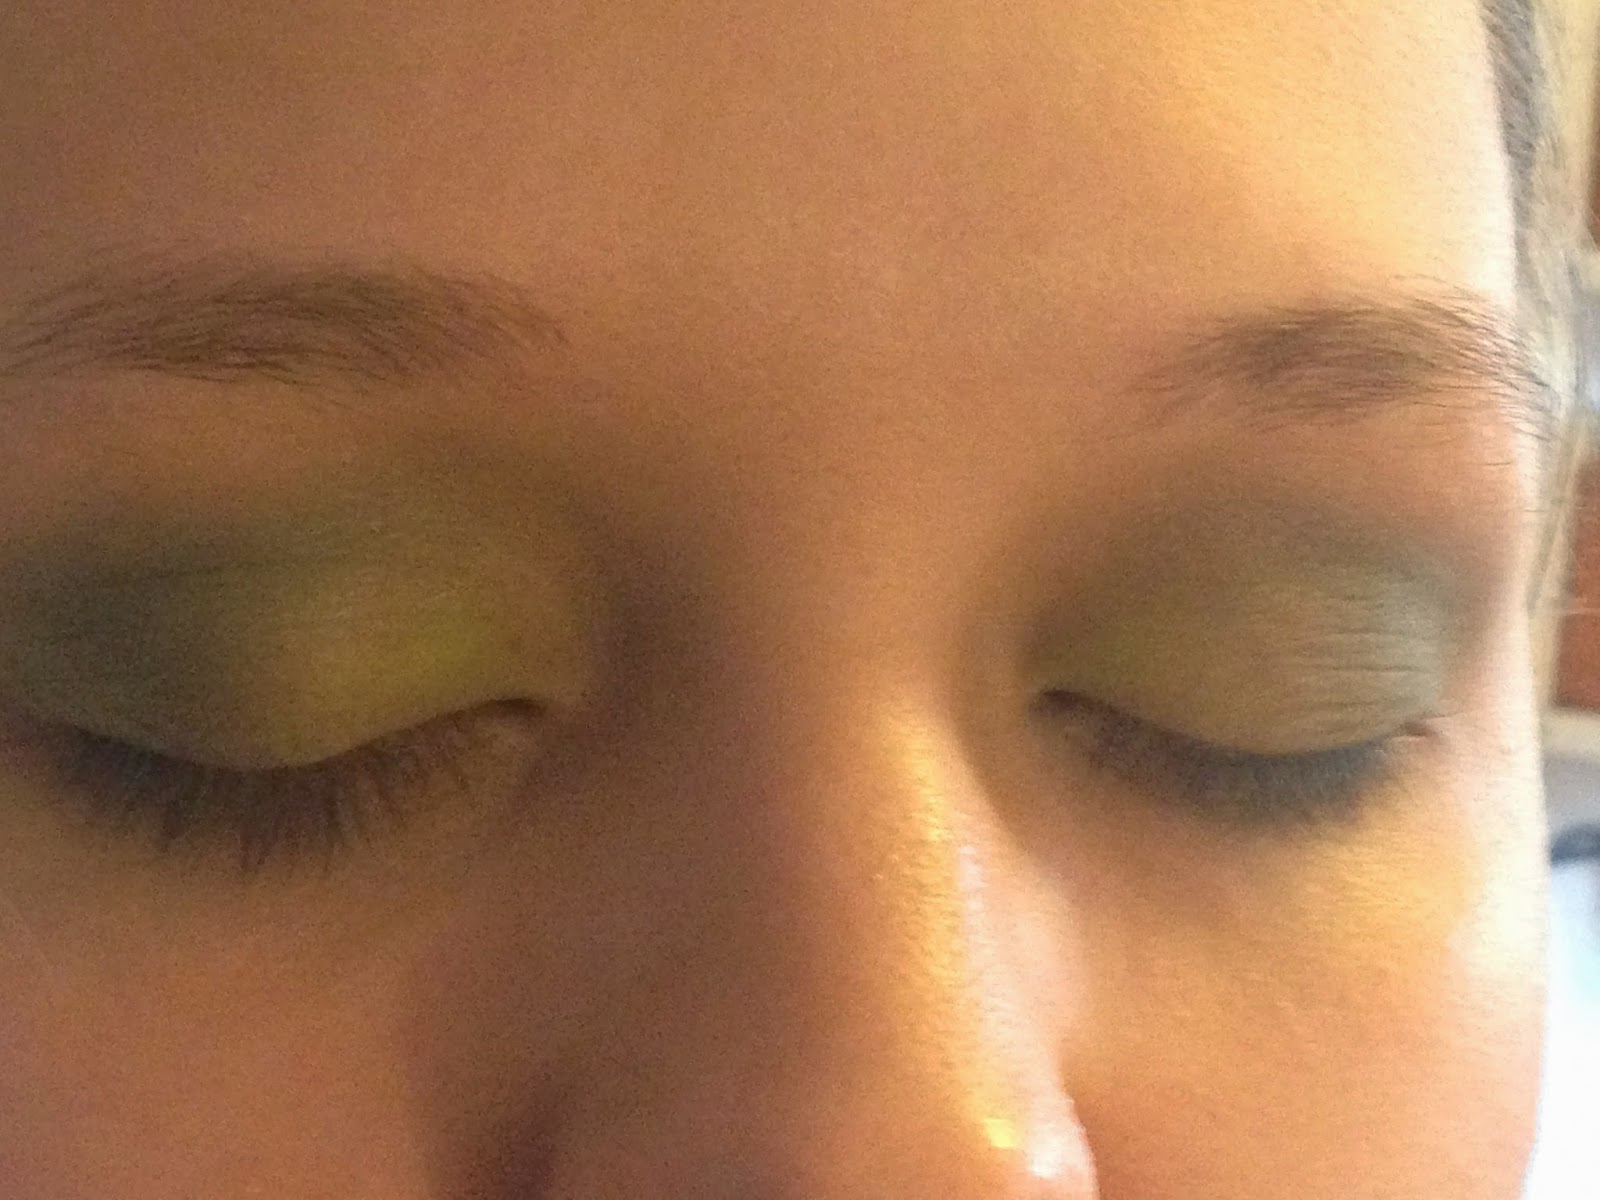
In the crease, to the inner and out sides, I added a mix of the lightest and second lightest shades of matte brown from my Chi Chi Nudes palette with a pencil brush. I love this palette. I use it all the time for my everyday eye looks. I didn’t add any to the middle of my crease because I have quite small lids and sometimes crease colours can overpower my whole lid. Feel free to add the crease colour all across.

Using a clean fluffy brush I blended out the crease colour, which did bring it a little in towards the middle, but not too harshly.


Back to the base, I concealed my under eyes and powdered with my Elizabeth Arden Ceramide Powder. I used a very light matte brown to do the smallest bit of contour. Seriously, you probably can’t even see it in the photo. I know Audrey had very defined cheekbones, but my face is a totally different shape and I really hate the way heavy contouring looks on me. It makes me look like my cheeks are too small!


Then I used the Essence brow powder to fill in my brows. Audrey always had very prominent brows that were very dark. Lucky for me I have black brows so all I really needed to do was fill them in. be careful here, because there’s a very fine line between creating full defined brows and just looking like a crazy bushy eyebrowed person. If you think you’ve overdrawn a bit too much you can go in with a bit of makeup remover or even just concealer and hide your mistakes.


With the eyeliner, I wanted it to be defined and a key focus of the look, but I didn’t want it to look like I was going full cat-eye. Audrey’s wings were always just enough to really accentuate her lashes and give them that really full look. I used Rimmel’s new waterproof gel liner (for the first time) and winged it out just a bit. I brought the line right into the inner corner of my eye very thinly, and then thickened it at the outer corner near the wing.


For mascara I used my Maybelline Mega Plush all over my lashes and then Maybelline’s Colossal Smokey Lashes on the ends. The Mega Plush gives a more natural look, while the Colossal is much better at lengthening, which is why I used it on the ends. By all means, use fake lashes with this look, it could only make it look better. I’m not a fan of fake lashes because putting things near my eyes like that freaks me out.


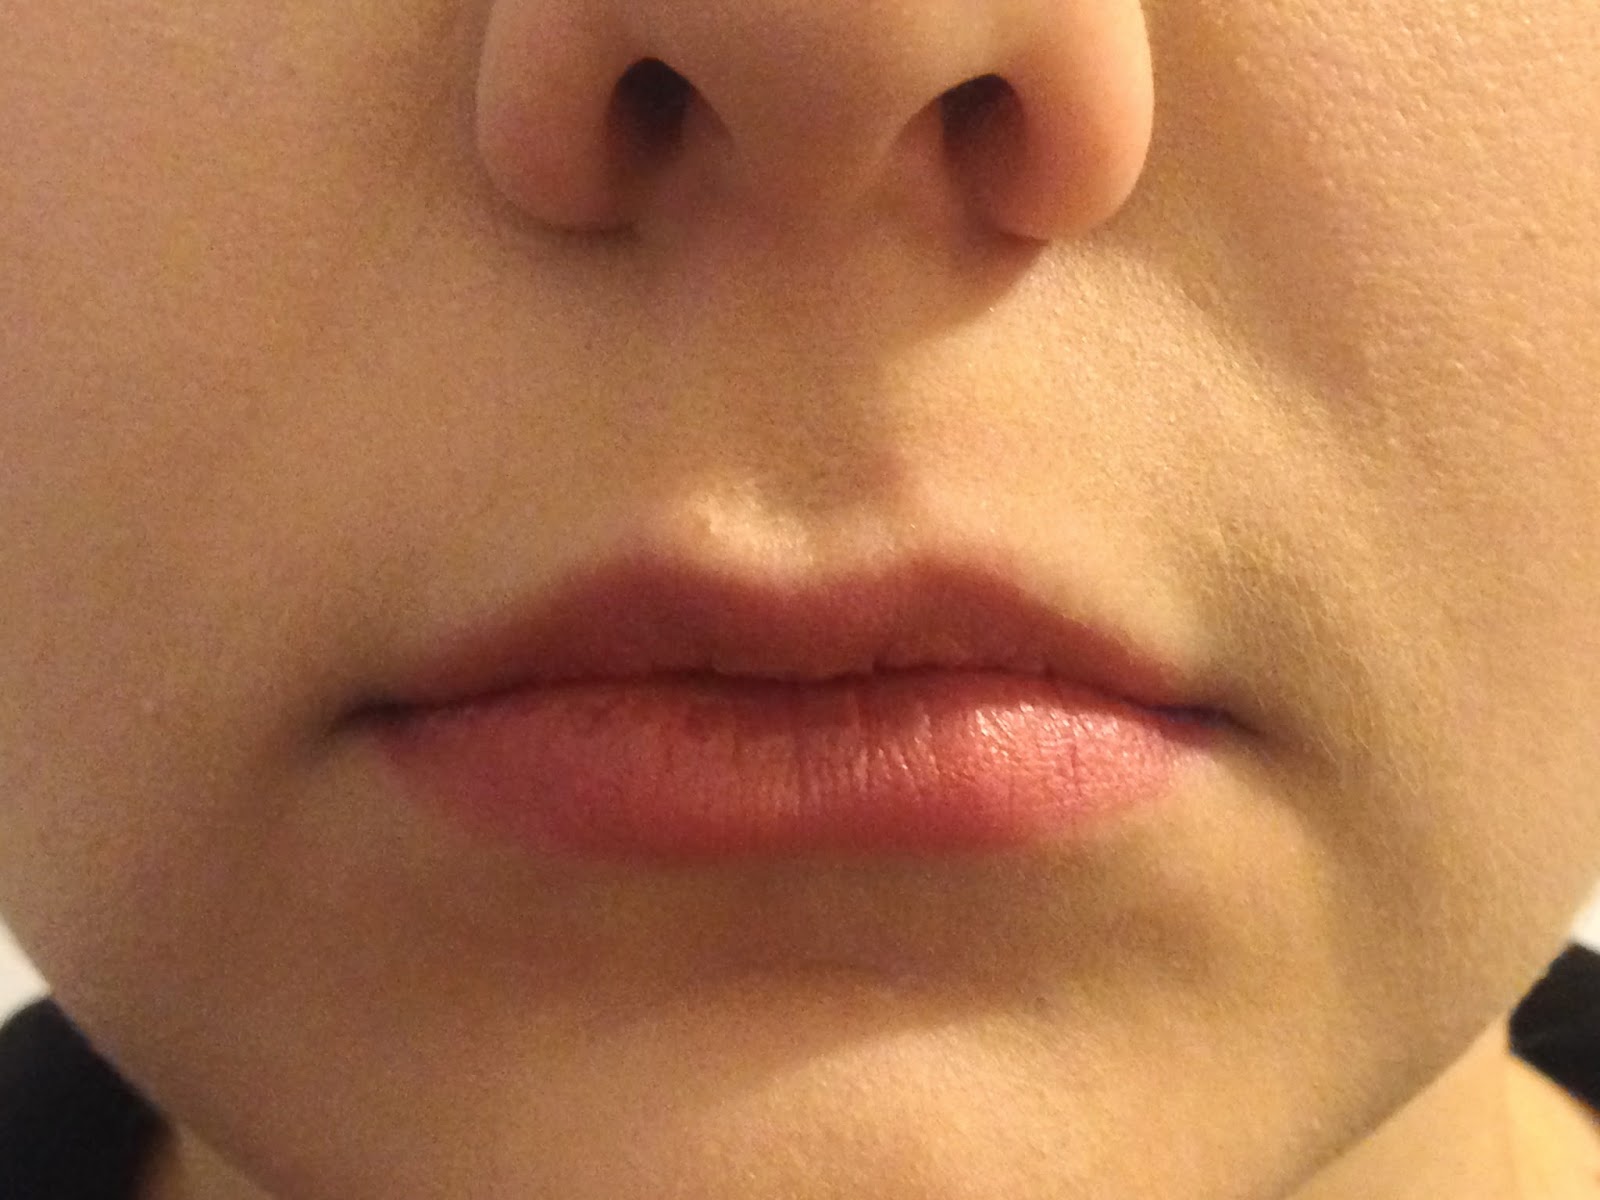
On my lips (which I had previously moisturised and prepped using my Palmers Cocoa lip butter) I used Elizabeth Arden’s lip pencil in Blush to line and fill them in. filling your lips in with your liner helps with the longevity of your lip colour. For lipstick I used Mary Kay’s lipstick in Apricot Glaze, and topped it off with my NYX Butter Gloss in Crème Brulee.

I finished with a quick spritz of M.A.C Fix +, and that’s it.


I don’t know how effective these blogged tutorials are. The reason I don’t film (yet) is because 1) I don’t have a decent video camera and 2) I don’t have the confidence yet to put myself out there on YouTube. This will happen one day, eventually. If you guys have any types of looks you’d like to see, let me know, or if you have any suggestions for how I can make these blogged tutorials better (without using video!).

I have another tutorial that I did on my sister for her birthday last week, and hopefully that will be up in the next couple of days, as well as more reviews of course!

Thursday, 26 June 2014

Tutorial: Green Smokey Eye w, Purple

I finally finished all of my exams for the semester which means I finally had the time to work on my very first tutorial. I’ve never done this before, and I really had no idea if I was doing it right (as in doing it in an effective way). So, let’s get started…

First of all, meet my little sister Kelly, who agreed to be my model today.
The first thing I did was moisturise Kelly’s face and prime her eyelids with the Models Prefer Eyelid Primer. I got this in an eyeshadow palette for Christmas, and it’s really nice, although, once it’s finished I really want to give the Two-Faced Shadow Insurance a go.

Once her eyes were all primed, I put LimeLily’s Lime Zest eyeshadow all over the lid. This is a beautiful matte, bright green shadow. I used it wet to boost the pigmentation.

After that I added Estee Lauder’s Enchanted Forest to the crease as the transition shade. Then I went with Estee Lauders’ Ivy Envy to smoke out the whole lid and crease. I just added Ivy Envy very lightly and built it up until I was happy with it.

Once I was happy with the level of colour with the darker green shades, I went back in with Lime Zest just on the inner half of the lid, to brighten up the colour after some of it got blended away with Enchanted Forest and Ivy Envy.


Before I moved on to the lower lash line, I applied the base. I primed with Models Prefer Mattifying Primer, and used LimeLily’s Cream Foundation. To get the best shade match for Kelly, I mixed Sunny Beige and Toffee. I applied it just using a flat foundation brush from my new brush roll, which I have just purchased from The Make-up Foundation and will be reviewing soon. I then used a mix of Sunny Beige and Toffee, but this time with more Sunny Beige, as an under eye concealer. I set Kelly’s face with the Australis Ready Set Go Finishing Powder, which is just a true translucent setting powder.

I did a very light contour and all over bronze with Estee Lauder’s Bronze Goddess in Medium, and then used the Pure Colour Blush in Peach Passion. These are from the same special edition palette that the shadows are from. I got this for Christmas, but from what I’ve seen, with the blushes and bronzer at least, you can buy them individually. I used TheBalm’s Mary-Lou Manizer to highlight her cheek bones, forehead, nose, cupid’s bow and chin.

Now, back on to the eyes. On the lower lash line I used Estee Lauder’s Purple Passion wet, and then smudged it out a little. For the inner corner highlight I used a mix of Flirty Lilac and Pink Flash, and used Pink Flash again as a brow bone highlight.


Then I lined the water and tight lines with Estee Lauder’s Eye Defining Pencil in Soft Smudge Black and did a thin line of Essence’s Liquid Ink Waterproof Eyeliner across the upper lash line, as close to the lashes as possible.

I used the Essence Get Big Lashes Waterproof Mascara on both upper and lower lashes.


Once I’d finished her eyes I realised that I had forgotten her brows, so I use Essence’s Brow Pencils in both Blonde and Brown and topped them off with some Models Prefer Brow Gel (also from that eyeshadow palette). I did a fairly natural brow look, I didn’t want the brows to overpower the eyes. Also, I’m not a huge fan over really heavily drawn brows, I much prefer a natural look.

Finally, on to the lips. I first lined her lips with Essence’s Lipliner in Cute Pink.

Then I used a lip brush from my new set to fill her lips in with Rimmel’s Apocalips in Luna. To finish it all off, I set her face with the Australis Make-up Finishing Spritz.

So that’s the finished look. This is a look that you could wear clubbing, or to a party. The eye look is one that can be both lightened up and deepened, to get different effects and use for different events. The purple on the lower lash line is totally optional. As an alternative, you could just use Lime Zest and Ivy Envy.


I hope this tutorial worked out okay. Like I said, I was really just winging it. If you have any suggestions for a better way of doing (not involving a video camera), feel free to leave me a comment. Also if there’s any kind of tutorial or review you’d like me to do, again, just leave me a comment, and I’ll see what I can do J

Here’s a complete list of the products I used:

Clinique Dramatically Different Moisturising Gel
Models Prefer Mattifying Primer
Models Prefer Eyeshadow Primer
LimeLily Cream Foundation – Sunny Beige & Toffee
Estee Lauder Bronze Goddess – Medium
Estee Lauder Pure Colour Blush – Peach Passion
TheBalm Mary-Lou Manizer
Estee Lauder Eyeshadows – Enchanted Forest, Ivy Envy, Purple Passion, Flirty Lilac and Pink Flash
LimeLily Eyeshadow – Lime Zest
Estee Lauder Eye Defining Pencil – Soft Smudge Black
Essence Liquid Ink Waterproof Eyeliner – Black
Essence Get Big Lashes Waterproof Mascara
Essence Brow Pencils – Blonde & Brown
Models Prefer Brow Gel
Essence Lipliner – Cute Pink
Brushes used came from the 16pc Starter Brush Roll Set from The Make-up Foundation


BLOG TEMPLATE BY DESIGNER BLOGS