Drop Down Menu

Monday 30 June 2014

Review: Bobbi Brown Skin Foundation (Porcelain)

I feel like it's been too long since I posted a review. Now that I'm finally done with exams (for a few months at least), I can really get into working on my blog, trying to make it better :)

I bought the Bobbi Brown Skin Foundation Stick a couple of months ago. I’d never bought a stick or cream foundation before, because I had always been under the impression that they were super full coverage, and I really prefer light natural coverage. So, when I was at the Bobbi Brown counter and the MUA suggested their foundation stick, even though I specifically asked for light to only slightly medium coverage, I was sceptical. Actually I thought he was just wasting my time and not listening to my needs. As it turns out the MUA actually knew what he was doing, fancy that!

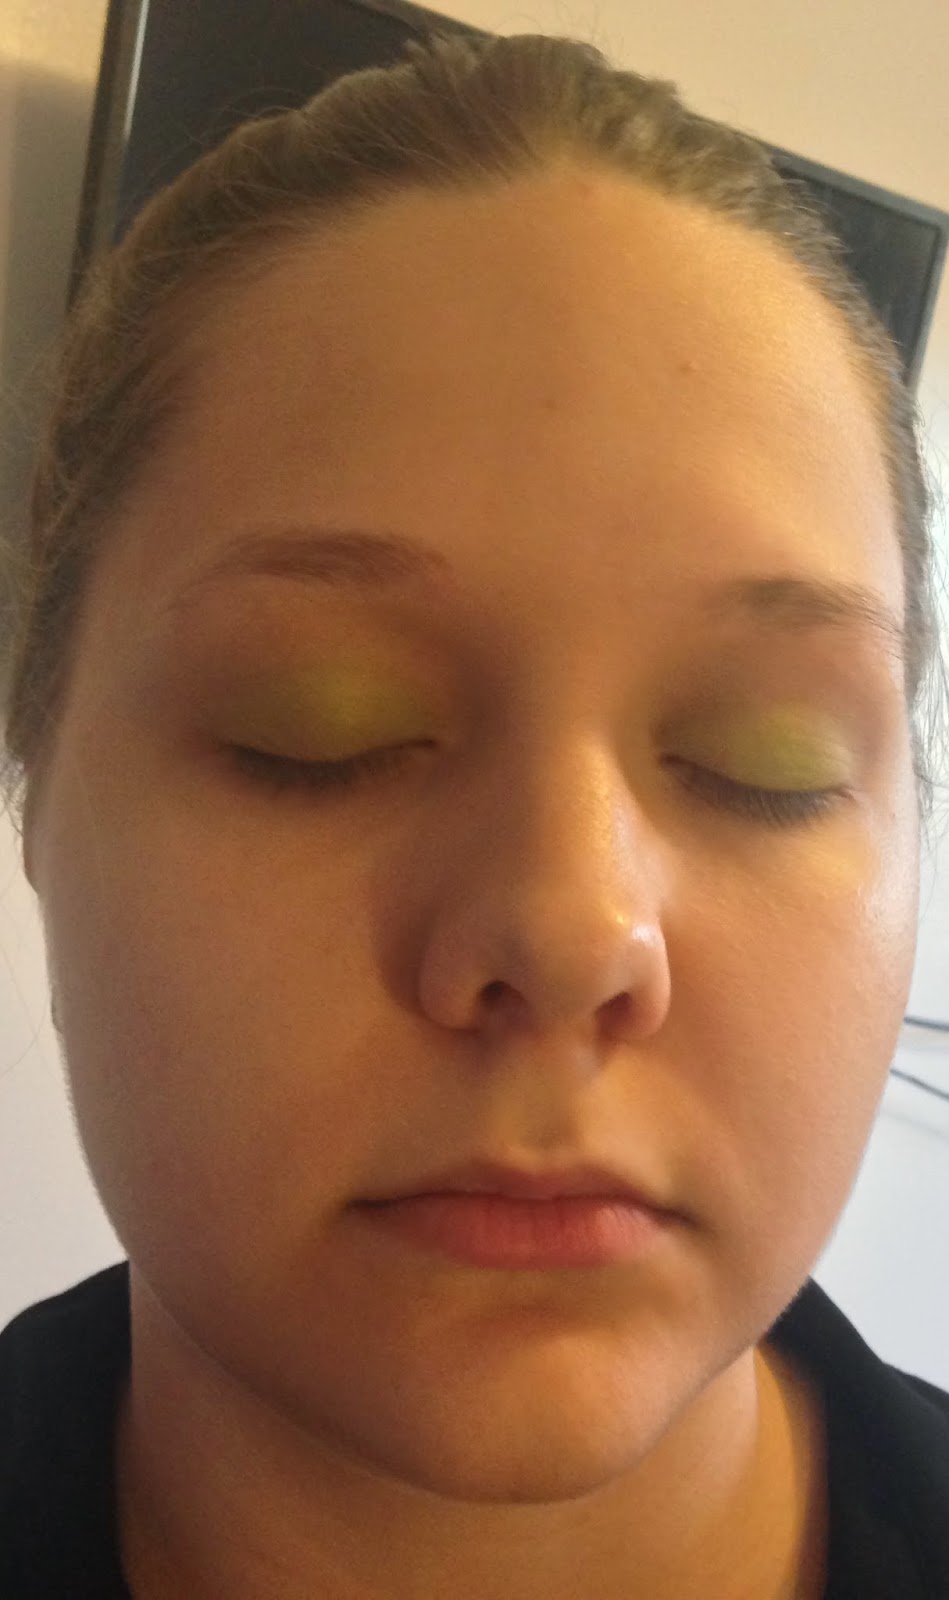
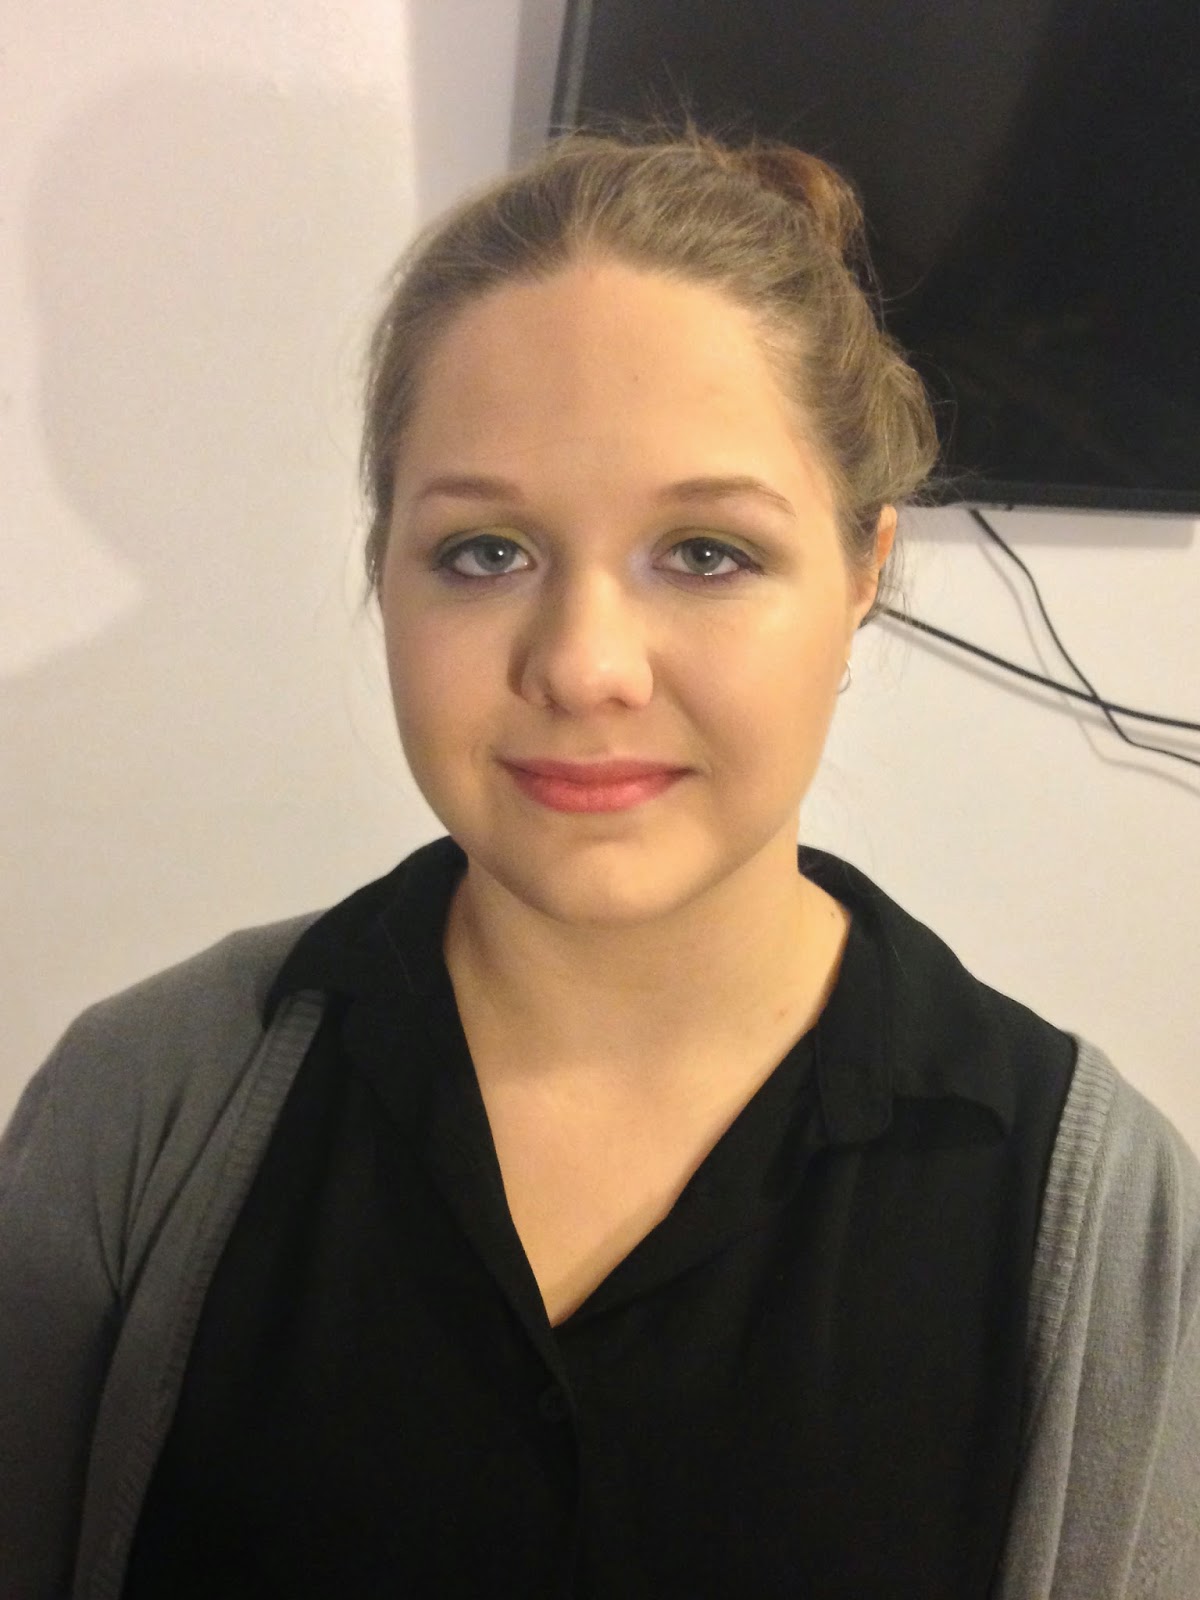
I really loved the look of the foundation stick on my face. It seriously looked like he’d just erased all the things I didn’t like on my face, and left beautiful, natural skin. And the shade match was as close as I’d ever come (until I met my NARS Radiant Cream Compact Foundation, which is an even better match).

So I bought the foundation then and there, which is really rare for me as I usually prefer to get samples first. I took it home and used it for a good two months before allowing myself to form a solid enough opinion to write a review.

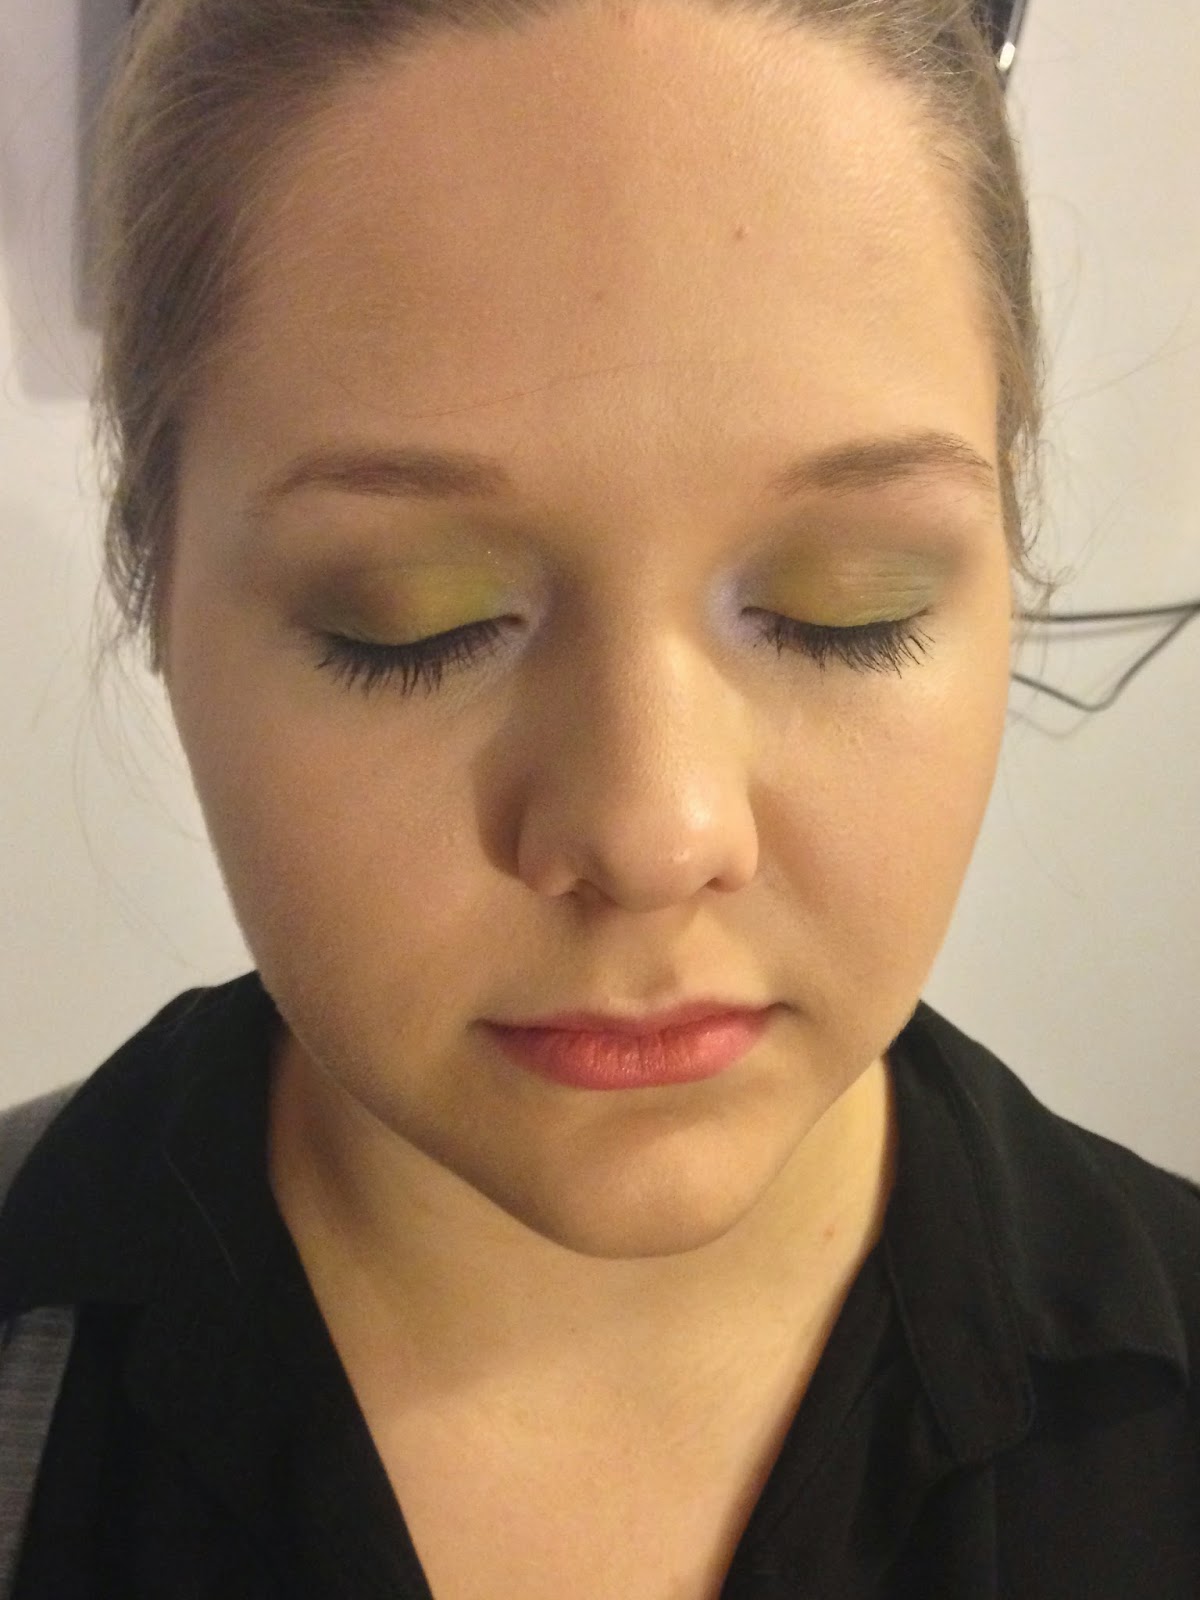
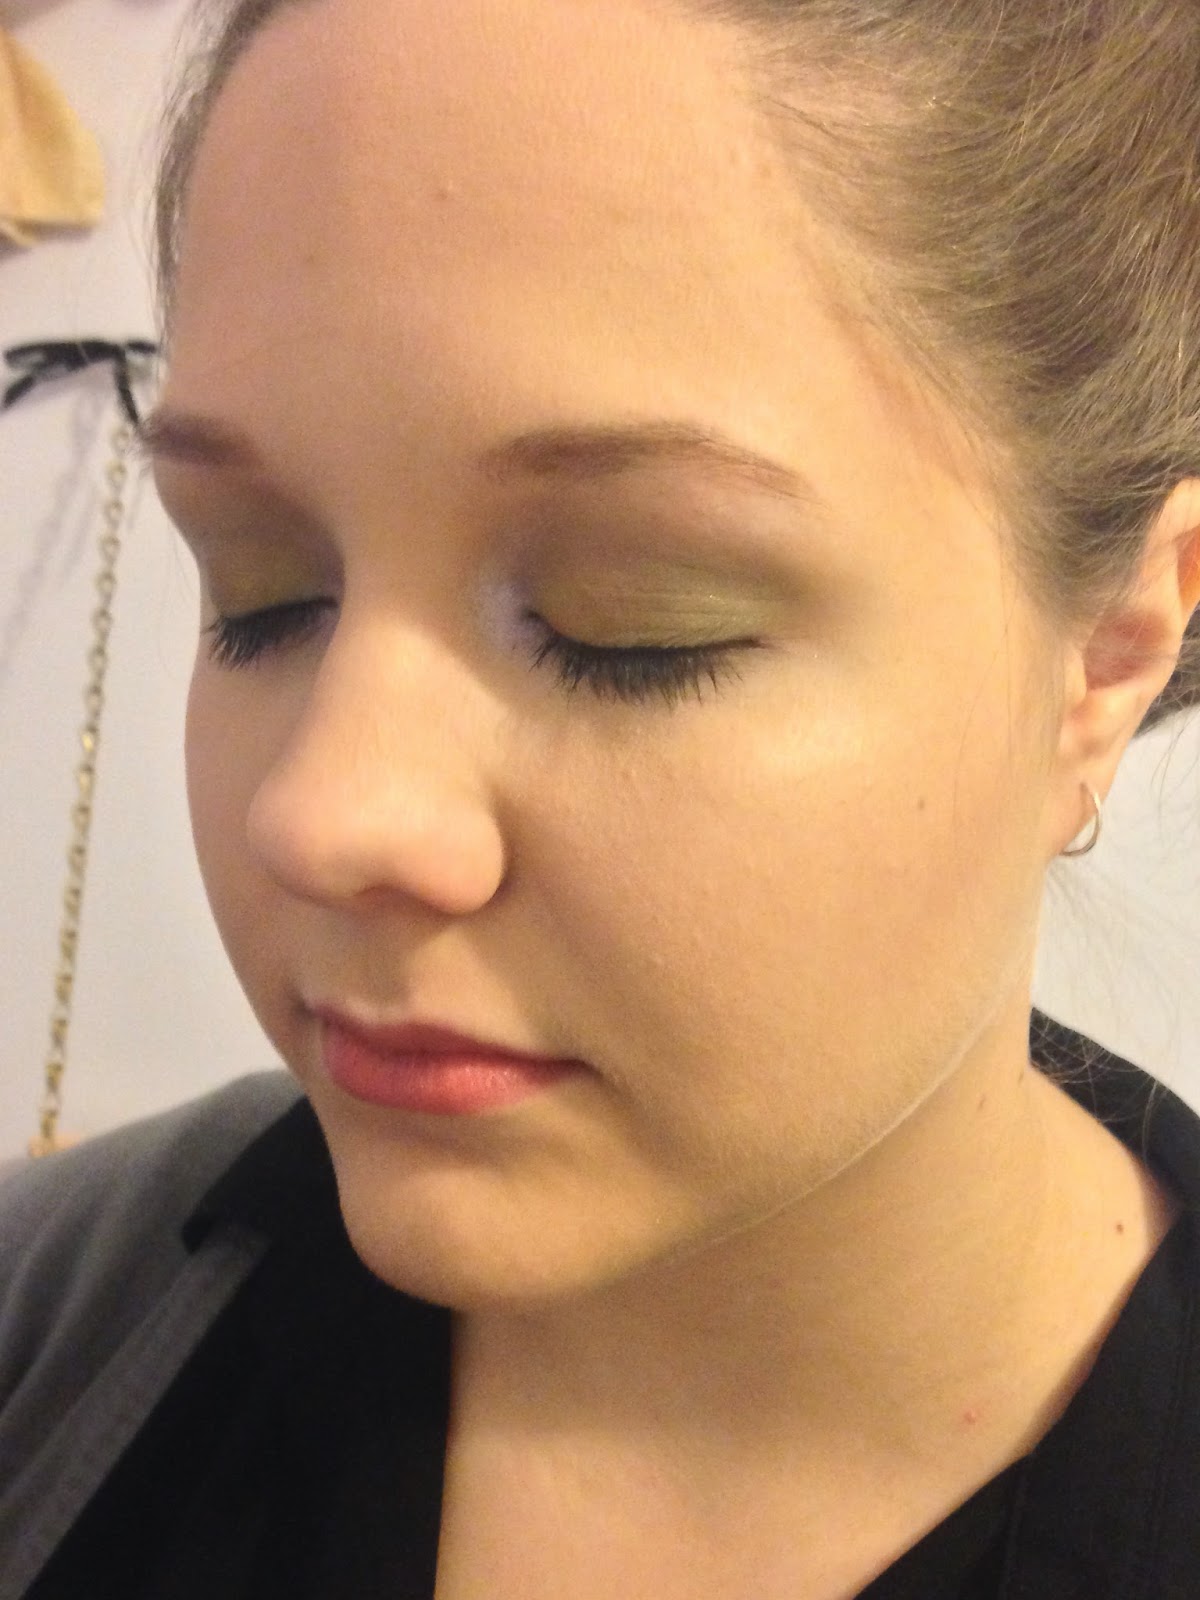
I really do like this foundation, it’s light, with nice coverage and blends easily. Its coverage is medium, but buildable, although I do think if you tried to build too much you might end up looking cakey.

I tried the liquid form of the Skin Foundation, and I have to say that the stick gives a much more natural and weightless finish. When I wear the stick foundation I barely even feel the need to set it with a powder. If I do, it’s only a very light dusting around my nose area. Once the foundation sets it doesn’t feel tacky, in fact it doesn’t feel like anything at all, which is possibly my favourite thing about it.

Now for the negatives. I have been experiencing some pretty dry skin lately. When I first bought the foundation the weather was still hot, so my skin was still pretty normal, but at the first sign of a chill in the air my skin started to feel like a desert. Once that happened I found the foundation harder and harder to apply. On my nose especially I started noticing that the foundation was clinging to my dry patches and it wasn’t sitting as nicely anymore. It didn’t matter what hydrating steps I took beforehand or whether I used a primer or not, it just wouldn’t work with me. Very disappointing.

Another I didn’t like is that, for a pretty expensive foundation, you don’t seem to get all that much product. It’s $65 for 9g and, because it’s a light to buildable coverage product, on days when you need that bit of extra coverage you obviously use more product. This means that the foundation stick wears down really quickly. The heaviest coverage I go for is medium, but on a daily basis I only built it up a bit where needed, usually on the top of my cheeks. I was surprised at how quickly it depleted. I got more than half way within about a month and a half, which kind of sucks.


So the big question: would I repurchase it? I’m not sure. Probably not. While it was a pretty close shade much, with room to move to a lighter shade, and it has a beautiful, weightless finish (in the hotter months), I just can’t seem to get past how badly it clung to dry patches on my skin. Yeah okay, for the high price tag, I wouldn’t repurchase it. It’s too much money to be spending on a product that runs out so fast. This might be good for people who have normal to oily skin, but for dry skin people I’d say look for something more moisturising. It’s such a shame, because I really love Bobbi Brown products, just not this one. 

Thursday 26 June 2014

Tutorial: Green Smokey Eye w, Purple

I finally finished all of my exams for the semester which means I finally had the time to work on my very first tutorial. I’ve never done this before, and I really had no idea if I was doing it right (as in doing it in an effective way). So, let’s get started…

First of all, meet my little sister Kelly, who agreed to be my model today.
The first thing I did was moisturise Kelly’s face and prime her eyelids with the Models Prefer Eyelid Primer. I got this in an eyeshadow palette for Christmas, and it’s really nice, although, once it’s finished I really want to give the Two-Faced Shadow Insurance a go.

Once her eyes were all primed, I put LimeLily’s Lime Zest eyeshadow all over the lid. This is a beautiful matte, bright green shadow. I used it wet to boost the pigmentation.

After that I added Estee Lauder’s Enchanted Forest to the crease as the transition shade. Then I went with Estee Lauders’ Ivy Envy to smoke out the whole lid and crease. I just added Ivy Envy very lightly and built it up until I was happy with it.

Once I was happy with the level of colour with the darker green shades, I went back in with Lime Zest just on the inner half of the lid, to brighten up the colour after some of it got blended away with Enchanted Forest and Ivy Envy.


Before I moved on to the lower lash line, I applied the base. I primed with Models Prefer Mattifying Primer, and used LimeLily’s Cream Foundation. To get the best shade match for Kelly, I mixed Sunny Beige and Toffee. I applied it just using a flat foundation brush from my new brush roll, which I have just purchased from The Make-up Foundation and will be reviewing soon. I then used a mix of Sunny Beige and Toffee, but this time with more Sunny Beige, as an under eye concealer. I set Kelly’s face with the Australis Ready Set Go Finishing Powder, which is just a true translucent setting powder.

I did a very light contour and all over bronze with Estee Lauder’s Bronze Goddess in Medium, and then used the Pure Colour Blush in Peach Passion. These are from the same special edition palette that the shadows are from. I got this for Christmas, but from what I’ve seen, with the blushes and bronzer at least, you can buy them individually. I used TheBalm’s Mary-Lou Manizer to highlight her cheek bones, forehead, nose, cupid’s bow and chin.

Now, back on to the eyes. On the lower lash line I used Estee Lauder’s Purple Passion wet, and then smudged it out a little. For the inner corner highlight I used a mix of Flirty Lilac and Pink Flash, and used Pink Flash again as a brow bone highlight.


Then I lined the water and tight lines with Estee Lauder’s Eye Defining Pencil in Soft Smudge Black and did a thin line of Essence’s Liquid Ink Waterproof Eyeliner across the upper lash line, as close to the lashes as possible.

I used the Essence Get Big Lashes Waterproof Mascara on both upper and lower lashes.


Once I’d finished her eyes I realised that I had forgotten her brows, so I use Essence’s Brow Pencils in both Blonde and Brown and topped them off with some Models Prefer Brow Gel (also from that eyeshadow palette). I did a fairly natural brow look, I didn’t want the brows to overpower the eyes. Also, I’m not a huge fan over really heavily drawn brows, I much prefer a natural look.

Finally, on to the lips. I first lined her lips with Essence’s Lipliner in Cute Pink.

Then I used a lip brush from my new set to fill her lips in with Rimmel’s Apocalips in Luna. To finish it all off, I set her face with the Australis Make-up Finishing Spritz.

So that’s the finished look. This is a look that you could wear clubbing, or to a party. The eye look is one that can be both lightened up and deepened, to get different effects and use for different events. The purple on the lower lash line is totally optional. As an alternative, you could just use Lime Zest and Ivy Envy.


I hope this tutorial worked out okay. Like I said, I was really just winging it. If you have any suggestions for a better way of doing (not involving a video camera), feel free to leave me a comment. Also if there’s any kind of tutorial or review you’d like me to do, again, just leave me a comment, and I’ll see what I can do J

Here’s a complete list of the products I used:

Clinique Dramatically Different Moisturising Gel
Models Prefer Mattifying Primer
Models Prefer Eyeshadow Primer
LimeLily Cream Foundation – Sunny Beige & Toffee
Estee Lauder Bronze Goddess – Medium
Estee Lauder Pure Colour Blush – Peach Passion
TheBalm Mary-Lou Manizer
Estee Lauder Eyeshadows – Enchanted Forest, Ivy Envy, Purple Passion, Flirty Lilac and Pink Flash
LimeLily Eyeshadow – Lime Zest
Estee Lauder Eye Defining Pencil – Soft Smudge Black
Essence Liquid Ink Waterproof Eyeliner – Black
Essence Get Big Lashes Waterproof Mascara
Essence Brow Pencils – Blonde & Brown
Models Prefer Brow Gel
Essence Lipliner – Cute Pink
Brushes used came from the 16pc Starter Brush Roll Set from The Make-up Foundation


Thursday 19 June 2014

Review: Beauty Blender

Let me first say that I bought my first beauty blender in December last year, and I have been in love with it since the very first use. It really does give a flawless effect. I’ve used it with all of the foundations I currently have or have tried since I bought it, and it has worked beautifully with all of them.

I was really sceptical about this thing, I mean come on, $20 for a sponge? It seems so ridiculous, and it probably is, but after the first use I didn’t even care. On my own face, I usually just use my fingers to apply my foundation and concealer and I can get a pretty flawless finish, but nothing like I usually get with the Beauty Blender. It also stops the foundation from clinging to any dry patches I might be dealing with.


The only real downside to this sponge is the price tag. At $20 a pop, it’s a lot of money to be spending on a sponge that you will have to replace every few months. I’ve heard that the Real Techniques Miracle Complexion Sponge is just as good, if not better and it costs much less. I really need to investigate this for myself. I’ll keep you all posted once I finally buy one and try it out!

Wednesday 18 June 2014

Review: First Impressions - LimeLily Cream Foundation

I went into my new favourite store today, The Make-up Foundation, which is a makeup wholesaler in Tingalpa (Brisbane) to get some new products to try. I had bought the Kuu Konjac Sponge (aka my new love) from there yesterday, which I reviewed last night. Today I bought a few shades of the LimeLily Cream Foundation, and a magnetic palette to keep them in. I also bought another sponge for my dad, who I think will really like it.

LimeLily was created by award winning make-up artist Nicola Richards. She’s won a BAFTA and an Emmy for her work on Jane Eyre, which I think is pretty darn impressive! Nicola is also the owner and founder of The Make-up Foundation. It’s an Australian made professional makeup line designed to be affordable for students, schools and colleges.

I had to fix my makeup before heading to work this afternoon, so I decided to take it all off and try out the cream foundation. I mixed Sunny Beige and Ivory with a little bit of my Trilogy Very Gentle Moisturiser, just to gett a little lighter coverage. My usual foundation at the moment is the NARS Radiant Creamy Compact Foundation (my original first impressions of that coming soon, just have to proof read it), which is quite possibly one of my favourite foundations ever, so I was excited to try another cream foundation.


The LimeLily one definitely feels like a drier consistency, which is not a bad thing, just different. It is very creamy and fairly easy to apply, although I want to try a couple of different ways to see which is better. Today I used my Real Techniques Expert Face Brush and blended a little with my damp Beauty Blender on the spots where I’m a little drier. The finish was a natural/dewy one, and I set it with my Elizabeth Arden powder, which is luminous as well.

I applied this at about 3:30pm and as I sit here at 10:00pm the foundation is still going strong. The only wear is on the top of my nose where my glasses sit. It sits really nicely on my skin, but I think because it’s a bit drier than my usual one, it would look even nicer when put on top of my serum and moisturising primer rather than just the primer.

I imagine the foundation would feel slightly heavier on the skin if I hadn’t mixed it with moisturiser, but I really only used a little and it doesn’t feel too much heavier than my NARS, which is good. This is a professional cream foundation, which some can often be thick on the skin, but this isn’t. I don’t really feel it on my skin all that much. Another good point is that I found it very easy to sheer out and then build up only in the spots that needed it. It let me give a much more natural look.

This foundation is great, and I really look forward to using it in some of my upcoming tutorials, which will hopefully start next week when I finally finish my wretched uni exams.

after applying the foundation and the rest of my makeup
If you’re looking for a great, affordable professional foundation look no further. LimeLily also have liquid foundations with the same colour range as the cream. As they are professional products, they are easy to mix, which allows you to get the perfect colour match. They can also be mixed with the liquids to create different consistencies, which is cool, as well as being able to mix with moisturiser as I did.

I’m so impressed with The Make-up Foundation as a store. Nicola was super helpful and answered all of my annoying questions with a smile. I definitely recommend checking out her store’s website for the next time you need to add to your kit, or just want to try some awesome products!

Check out the websites here:

http://www.limelilycosmetics.com.au/


On the rest of my face:
Australis Primer
Australis Lip & Cheek Combo in Flamingo Skies
Elizabeth Arden Ceramide Skin Smoothing Loose Powder
TheBalm Mary-Lou Manizer
M.A.C. Studio Fix Powder (as a base on my eyes)
Chi Chi Nudes Palette - matte light brown shade (in crease)
Revlon Just Bitten Kissable Balm Stain in Rendezvous
Nyx Butter Gloss in Creme Brulee

Tuesday 17 June 2014

Review: First Impressions - Kuu Konjac Sponge (Sensitive Skin)


This is just a quick one. I bought this Kuu Konjac Sponge from a makeup store today. I’ve heard a lot about these Konjac sponges. They’re all natural cleansing sponges that can be used with or without cleanser. The little blurb from Kuu reads:

“Konjac is a traditional Japanese jelly-like health food made from a type of potato called “Konnyaku potato” and calcium hydroxide or oxide calcium… In Japan the Konjac (Konnyaku) sponge has been used for its medicinal properties for over 1500 years. For over a century the Japanese have been using the Konjac vegetable as a beauty treatment for their delicate skin.”

The sponge I bought is for dry and/or sensitive skin and it has natural French red clay in it. It only costs $8.95 (AUD) and I was definitely pleasantly surprised by it. The sponge is really soft. I could only feel the slightest bit of exfoliation on my skin as I was using it. I used it with my Clinique Extra Mild Facial Soap, and for once I only had to use a teeny tiny amount when usually I need two full pumps of it.


I used makeup remover before I cleansed and what I love about this sponge is that it got rid of all of the makeup that the remover missed. Usually with this Clinique cleanser I need the toner to get off the excess, because the cleanser just can’t do the job. I used the toner after cleansing just to see what is missed, and I have to say, the makeup pad I used was pretty much clean. I’ve only used it this one time, but I’m really happy with it already. It’s so soft and it didn’t aggravate my redness, and my skin didn’t get that tight ‘squeaky clean’ feeling. I know a lot of people like that, but I can’t stand it. I like my skin feeling soft and smooth. I definitely recommend these sponges, there are different sponges to match all skin types. 

Monday 16 June 2014

Review: First Impressions - Elizabeth Arden Ceramide Skin Smoothing Loose Powder (Translucent)


I’ve been looking for a good setting powder that isn’t completely matte, and I’ve been mulling over the idea of spending $62 (AUD) on the Hourglass Ambient Lighting Powder in Diffused Light, which is one of the most luxurious, beautiful powders I’ve ever come across. So the other day I decided to just go and buy the powder, but also decided to have a look in David Jones (Australian department store) to see if there were any brands I had overlooked.

This is when I came across Elizabeth Arden’s Ceramide Skin Smoothing Loose Powder. Now, I’m not a total makeup neophyte, so of course I know about Elizabeth Arden’s cosmetics. I have quite a few different items from them, but the only other place near my house that stock the brand is the Myer in the same shopping centre, and the lady that usually runs the counter there is kind of pushy and, well a bit of a bitch, and I flat out refuse to buy from people like that. The lady that served me in David Jones however was so nice and helpful. She had no hesitation in putting the powder straight on me, without pushing me to buy it.

I wore it around for a little while and went back to Mecca Maxima to stare longingly at the Hourglass one. My hesitations about buying the Hourglass one has always been the massive price tag. $62 is a lot of money, especially for only 10g of product. What made up my mind about the Elizabeth Arden powder was that I felt it gave the exact same, if not slightly better effect, and even though it came in at $65, I was getting 28g, which is more than double the Hourglass. The lady at the counter promised me that because of the minimal amount needed each application, the tub should last me over a year.

So I tried it for the first time (apart from when she tested it on me in the store), and I have to say that I’m so happy with my purchase. It’s so smooth and gives an almost blurred appearance to the skin. At first I was worried that it was going to be too matte, even with the bits of shimmer and gleam to the powder, but once it settled into my foundation and skin I just looked slightly glowy and very natural. I don’t usually go for products with a lot of shimmer to them, because I don’t want to look like one of those Twilight vampires (I’m more of an Anne Rice girl), but this powder’s shimmer is so finely milled that unless you overdo the powder and are looking really, really closely, you can’t see the individual sparkles. The shimmer just illuminates the skin, as if it was a really light highlight.

The wear on this powder was pretty good. I applied my makeup at about 12pm today, and it was still going strong at 11:30pm when I took my makeup off, and considering I wear a more moisturising foundation rather than a long-wear one, that’s pretty good. Keep in mind though that I do have dry skin, so people with oily/combo skin might find it’s not quite as long lasting. That being said, there is a matte pressed version of this powder, if that’s more your thing.


Overall, I’m very happy with this powder so far. It is exactly what I have been looking for, a powder that sets without the matte finish. I setting my foundation with a bit of powder, but haven’t been lately because the effort it takes to take away the matte look (with highlighting and Fix + etc.) is honestly way more than I care to do for my everyday look. I like to just keep it as simple as possible and use as few products as possible, because that means I get to sleep in longer when I have places to be. I highly recommend this, especially for those of you like me, who don’t really care for the matte look. Like I said before, if you are matte-look fan (as I used to be), then maybe you can try the pressed version. I imagine it’s just as finely milled and silky feeling.  

Review: Clinique 3 Step Program

A couple of months ago I was in need of a new face cleanser so I decided to give Clinique a try. I’ve used their foundations before and really liked them, except they run a bit too dark for my pale skin. The lady recommended their 3 Step program which includes a cleanser, clarifying lotion (basically a toner) and a moisturiser. I have dry, very sensitive skin which is prone to redness, so I went with the Extra Mild Cleansing Soap, the Mild Clarifying Lotion and the Dramatically Different Hydrating Gel, which is actually recommended for oily/combination skin types, but the lotion version felt a little heavier than I thought I wanted.
   
The hydrating gel is my favourite of the three, but I’ll work through the review in order of the cleansing process. I do like the cleansing soap, but it’s nothing that has wowed me. I like that it has cucumber in it, which is a good redness calmer, but that’s about it. It does keep my redness at bay, but I honestly don’t notice any other benefits from it. I also don’t like the smell of it. I’m happy that it’s not fragranced, but the smell is slightly chemical, which is unpleasant. At least the smell doesn’t hang around, like the fragrance of the Chanel cleanser I tried about two weeks ago (review to come). The cleanser is definitely gentle, despite the concerning label of being a soap, unfortunately I feel generally blasé about it past its gentility.

Now onto the clarifying lotion. While I do like the toner, I’m still not convinced that my skin benefits from the use of it. Like with the cleanser, despite it being gentle, I haven’t noticed a massive change in my skin, except that it doesn’t activate my redness, which is always a plus. The only added benefit to note is the extra moisture it adds when prepping my face for the day. Apart from that I don’t have any other positive or negative thoughts on it.

Okay, time for the one product that did impress me somewhat, the hydrating gel. I really liked the gel. It’s smooth, moisturising and very light. Makeup sits beautifully underneath the gel, and it doesn’t feel like a mask on the face. The only problem I found with it is that doesn’t seem to be enough moisture for me at night. This isn’t the fault of the gel though, after all it is designed for combo/oily skin.

All in all the 3 Step program didn’t really live up to my hopes and expectations. I was left feeling a little underwhelmed, and if you factor in the fact that the items seem to run out quite quickly it adds up to the products being a little bit disappointing. I only bought them about 2 months ago, and I’m already nearly finished them, and this is including the break I took from them to try out some samples of other cleansers.

Oh and one other thing I forgot about was that I did notice that I was getting a few more blackheads on my nose by using this than I’ve ever noticed before. I’ve never really had blackheads, except for the occasional ones during the summer months, when my skin is really hot all the time. They aren’t massive blackheads, and it wasn’t something that was super concerning to me, but I guess it is worth mentioning, because it’s obviously being caused by the skincare. 

Saturday 14 June 2014

Review: M.A.C. Pro Longwear Concealer (NW15)

I was debating which review to add next, and decided to stick with the M.A.C. theme, so here’s the review I wrote about their Pro Longwear Concealer.

I loved this concealer right after the first application. It’s so smooth and it blends so beautifully over or under any foundation I’ve tried it with. I use it mainly for under the eyes and a tiny bit of pre-highlighting, and I love that my very fair skin finally has a concealer light enough to perform these tasks. The only other concealer I’ve loved as much as this one was an Essence one that I believe was discontinued, as I can’t find it anywhere in Australia. Of course the Essence was quite a bit cheaper (I think about $3 compared to M.A.C.’s $32) which made it may absolute favourite, but Pro Longwear is just as good so I can handle the higher price tag. Plus, a little goes a very, very long way with this stuff!


My one gripe with this concealer is its packaging. Although I appreciate the concept of the tiny pump bottle, it doesn’t dispense the right amount. One pump is usually enough to cover both under eyes and a bit of pre-highlighting… twice. If the pump dispensed about half of what it does now it would be awesome, because trying get just half a pump is damn near impossible. I don’t know about you, but I’m clumsy as hell when makeup things are as fiddly as this, and I usually end up getting it everywhere.

This one gripe aside (please fix it M.A.C.!), I highly recommend this concealer. It’s smooth, creamy and I don’t have problems with creasing (this is with setting with a powder, which I always do, because it’s hot in Australia, even in winter at the moment). 

Thursday 12 June 2014

Review: M.A.C. Pro Longwear Foundation (NC15)

This review was originally written in November, when I first purchased the foundation, since then I have found other foundations, but I still agree with my original feelings about it. Enjoy!


Finding a decent foundation that matches my skin tone and lasts on my skin is not an easy task for me. I am very pale, with redness to cover and yellow/neutral based tones.

I had never tried any MAC foundations before trying this, and when I got the sample for this, I also got a sample of their Studio Fix Fluid foundation as well (which I didn’t like).

Right off the bat, I really liked this foundation. It was a good buildable coverage, which was a pretty close match to my skin tone. (It’s only slightly darker)


I have worn it for long periods of time, with the most being probably about fourteen or fifteen hours. I will say that although it definitely withstands the test of longevity, it does tend to wear off my nose fairly quickly, but in defence of the foundation, I get hayfever and it makes my nose itch and run, (gross, I know), which means a lot of the time (especially walking around my flower and bush filled uni), I have to take tissues to my nose throughout the day. The other place I do have to touch up, rather than just blot, is my chin. For some reason foundations just seem to come off my chin so easily, no matter how much I try to avoid touching my face or how longwearing the foundation claims to be.

I really only have two more complaints about this foundation. The first being that if I wear the foundation on a regular basis, the bottle runs out very quickly. The second is that once the foundation does start to show signs of wear, it can go a little bit cakey, especially when my face gets really hot.

Apart from those little criticisms, I really enjoyed this foundation. It’s longwearing, and fairly water and sweat-proof as advertised. It also looks very nice on the skin (until it starts to break down at the end of the day) and it’s a good medium buildable coverage.

I mainly use my Beauty Blender to apply this foundation, but if I am in a hurry I will use my hands. A lot of the time the coverage is so good with this foundation that I only need a bit of under-eye concealer and that’s it.

BLOG TEMPLATE BY DESIGNER BLOGS